 Enduro Water-Based Conversion Varnish
 Enduro Water-Based Tintable 2K White Poly
 Enduro Water-Based Pro Series White Polyurethane
 Enduro Water-Based Tintable 2K Clear Poly
 Hard Wax Oil & Hardener
 Gel Stains
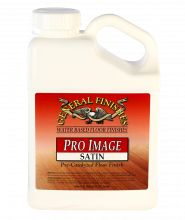 Pro Image Flooring Topcoat
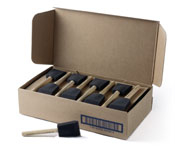 Jen Poly Brushes
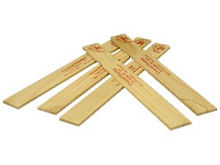 Stir Stix
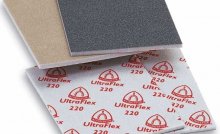 Ultraflex Softback Sanding Sponge
It is normal to see a bit of stain on the brush when applying the first coat of topcoat. Topcoats often pull a bit of color on the first pass, but good preparation will minimize this.
To prepare open grains woods such as raw Oak for a water-based stain, we recommend sanding with 180-grit followed by no more than 220-grit sandpaper.
300-grit or 400-grit sandpaper is too fine for preparing raw wood. Too fine of a grit changes the wood from a porous surface to one that is too smooth to absorb the stain, which causes the first top coat application to pull excessive color (it is like trying to apply stain to glass).
There is always a small amount of color pull when using water-based stains, but the smooth surface escalates this condition. This was evident in the areas that you used the brush to remove excess topcoat.
See recommended sanding schedules here.
Instructional Video: How to Prep Sand New or Raw Wood
Here are some options to try. Always test a small area before proceeding with your entire project.
- TONING: Lightly sand the light areas with a 220-grit sanding foam pad to open up the pores of the wood.
Create a toning mix of 10-20% Dye Stain to 80-90% topcoat. Using a small brush, apply this mix over the light areas to blend with the darker areas.
Let this dry 3-4 hours. Then apply another coat of the mix over the entire surface. If this is successful, then apply 2-3 coats of the topcoat. - GLAZING: Glaze the light areas. This will change the look of your doors but is an easier remedy.
- START OVER: Optimally, you should sand down to bare wood and start over with this prep sanding schedule indicated able.
You can apply the Dye Stain directly to the wood, or mix in 10% topcoat to help lock in the color.