 Enduro Water-Based Conversion Varnish
 Enduro Water-Based Tintable 2K White Poly
 Enduro Water-Based Pro Series White Polyurethane
 Enduro Water-Based Tintable 2K Clear Poly
 Hard Wax Oil & Hardener
 Gel Stains
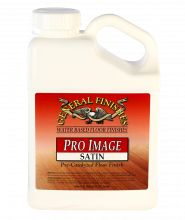 Pro Image Flooring Topcoat
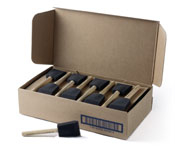 Jen Poly Brushes
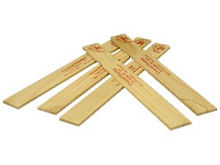 Stir Stix
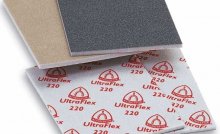 Ultraflex Softback Sanding Sponge
There is no easy solution to this problem. General Finishes Milk Paint has strong adhesion properties but there are several reasons this finish could fail:
The cabinets were not prep cleaned and sanded properly. Sanding and cleaning are an essential part of any refinishing process. Sanding lightly with the correct sandpaper grit will help clean and smooth the surface, but it will also abrade the previous finish which gives the new paint something to grip onto. Product may not adhere properly to a surface that is un-sanded or that is over-sanded (making the surface too smooth).
In most cases, you can use a 220 sanding pad to scuff the surface and clean with a 50|50 mix of water and denatured alcohol.
The surface was contaminated with a dusting spray that contained silicone. Silicone is usually impossible to remove. You can try scrubbing the surface with a strong detergent such as Spic and Span and warm water combination using a gray Scotchbrite pad. After that clean with denatured alcohol full strength.
In most cases, you need to strip and sand, but there is no guarantee of success. Test a small area first.
- The surface was contaminated with a previous wax finish. Wax is also difficult or impossible to remove. Nothing adheres well to wax, and once you use it the wood grain can become contaminated. The wax can penetrate the wood, making future paint or stain finishes or touch-ups difficult or impossible. Even though there is internet chatter about removing wax with 3rd party products or mineral spirits, the risk of a failure in re-coating over a wax finish is very high.
- The surface was contaminated with an oil based soap.
- A lack of compatibility with the deglosser.
- A lack of compatibility with another manufacturer's top coat.
The most likely suspect is contamination. If any wax or silicone-based product has been used on the original surface, adhesion problems such as bubbling and chipping can be expected.
You could try spot sanding then repainting the chipped areas but that rarely is a good solution - we think the problem will continue to occur.
We recommend getting the cabinets into a paintable condition by doing the following:
- Sand back all the new paint and cleaning with a high strength detergent such as Spic and Span mixed with warm water. Rinse thoroughly and let dry.
- Prep sand with a 220-grit sanding PAD - do not use a finer grit or the new paint won't hold.
Scrub with a Scotch-Brite Pad and a 50\50 mix of denatured alcohol and water. When preparing any surface we highly recommend using a 50/50 mix of denatured alcohol and water instead of commercial cleaning solutions.
The mix is more effective because it has a higher alcohol content, you can get denatured alcohol locally, and it is cheaper. Many commercial cleaning solutions have extremely high VOCs while denatured alcohol is much lower.
Furthermore, the 50/50 mix does not have salt in it. The salt in commercial cleaning solutions could linger in the substrate and cause salt contamination when clear coating at the end of your project, which could create a white haze.
- Test one door, letting the surface cure for 7 days to see if the problem duplicates itself. If this is silicone contamination, it may be impossible to remove the silicone completely.
If your test does not work, stripping is the only answer. We know this is not what you want to hear, but we hope that this insight will help you to achieve your desired end result.
Future forward, when working with a pre-existing finish with no knowledge of previous wood care, always test a hidden area before proceeding with the entire project.
Watch how to power prep existing high-use finishes for stain or paint like kitchen cabinetry here.