This week, we wanted to share one of the common questions from users of our popular water based General Finishes Milk Paint.
"Do you need to prep an existing finish before applying General Finishes Milk Paint?"
The answer is yes. Even though many companies claim that no prep is needed, we take a different view. You can test other finishes you have applied simply by trying to scrape the paint lightly with a fingernail. A paint that comes off with this test is basically a paint that has.....failed. If it flakes, then you need more prep, unless your objective is the chippy look. If your objective is for the finish to last, we always recommend the following two best practices every time.
FIRST: clean your project with a Scotch Brite pad and a 50/50 mix of denatured alcohol and water. Do not use mineral spirits with a water based product.
SECOND: sand with 150 or 180 grit sand block. We recommend the Softback Sanding Sponges. They are not messy and last forever. Sanding is critical to the success of every finishing project as it further cleans the surface and opens up the grain to improve the adhesion of the new paint or finish. The glossier the original finish is, the more important is to sand to open up the surface!
With that said, folks are writing us and saying that General Finishes Milk Paint sticks to surfaces we never dreamed of! It adheres so well that we do not recommend that you use General Finishes Milk Paint for the chippy look unless you apply a wax first and then finish your project with a top coat. We recommend General Finishes PolyAcrylic Topcoat for most household applications. Our Milk Paint is not really a milk paint, but a high tech acrylic finish that you can use straight from the can! It is easy to use reuse and should have no crystallization around the rim of the can.
If you have any other questions, shoot us a message and we'll try to answer them here on the blog. Happy painting, y'all!
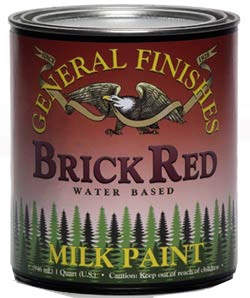

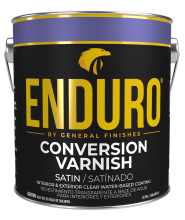 Enduro Water-Based Conversion Varnish
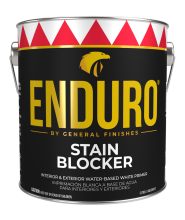 Enduro Water Based Stain Blocker Primer
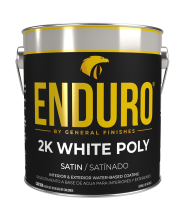 Enduro Water-Based Tintable 2K White Poly
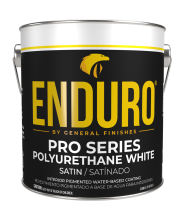 Enduro Water-Based Pro Series White Polyurethane
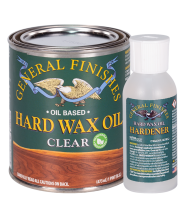 Hard Wax Oil & Hardener
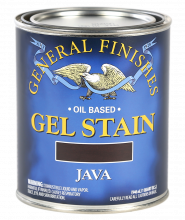 Gel Stains
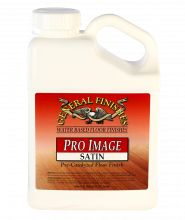 Pro Image Flooring Topcoat
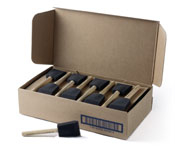 Jen Poly Brushes
 Stir Stix
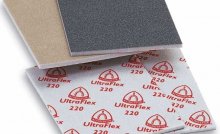 Ultraflex Softback Sanding Sponge

