Compatibility
Do not use water-based products with Linseed Oils or Danish Oils.
Limited Warranty
General Finishes products must be tested to your complete satisfaction before using. General Finishes will not be responsible for color satisfaction, misapplication, nor compatibility with other manufacturers' products. General Finishes will be responsible only for the cost of our products, and not for costs such as labor, damage or project replacement.
Contamination and Compatibility
Our finishes are engineered as a system and are compatible with each other. General Finishes cannot guarantee an ideal refinish when applying our products on top of or combined with another company's products or over surfaces that have been in contact with waxes, polishes or sprays containing contaminants such as silicone. Test for adherence and aesthetics before beginning.
Warning
If you scrape, sand, or remove old paint, you may release lead dust. LEAD IS TOXIC. EXPOSURE TO LEAD DUST CAN CAUSE SERIOUS ILLNESS, SUCH AS BRAIN DAMAGE, ESPECIALLY IN CHILDREN. PREGNANT WOMEN SHOULD ALSO AVOID EXPOSURE. Wear a NIOSH-approved respirator to control lead exposure. Clean up carefully with a HEPA vacuum and a wet mop. Before you start, find out how to protect yourself and your family by contacting the National Lead Information Hotline at 1-800-424-LEAD or log onto www.epa.gov/lead.
FIRST AID:
Seek immediate medical attention if symptoms occur due to the following. EYE CONTACT: Remove any contact lenses. Flush eyes with water for 20+ minutes while lifting upper and lower eyelids. SKIN CONTACT: Wash thoroughly after handling. INHALATION: Move to fresh air and loosen clothing. If not breathing, if breathing is irregular or if respiratory arrest occurs, provide artificial respiration or oxygen by trained personnel. INGESTION: Call physician immediately. Wash out mouth with water. Do not induce vomiting unless directed to do so by medical personnel. Never give anything by mouth to an unconscious person.
Warning
This product contains a chemical known to the State Of California to cause cancer and birth defects. Do not swallow; first aid: drink water to dilute product. May cause eye or skin irritation; first aid: flush eyes thoroughly with water.
Warning
Keep out of reach of children. Avoid contact with eyes. Keep container tightly closed when not in use. Wash thoroughly after handling.
PERSONAL PROTECTION DURING USE:
Hand protection
Chemical-resistant, impervious gloves complying with an approved standard should be worn when handling chemical products if a risk assessment indicates this is necessary. Considering the parameters specified by the glove manufacturer, check during use that the gloves still retain their protective properties. It should be noted that the time to breakthrough for any glove material may differ for different manufacturers. In the case of mixtures, consisting of several substances, the protection time of the gloves cannot be accurately estimated.
Eye protection: Safety eyewear complying with an approved standard should be used when a risk assessment indicates this is necessary to avoid exposure to liquid splashes, mists, gases, or dust. If contact is possible, the following protection should be worn unless the assessment indicates a higher degree of protection: safety glasses with side shields.
Respiratory protection:
Based on the hazard and potential for exposure, select a respirator that meets the appropriate standard or certification. Respirators must be used according to a respiratory protection program to ensure proper fitting, training, and other important use aspects.
Body protection Personal protective equipment for the body should be selected based on the amount and repetition of exposure. It should be approved by a specialist before handling this product.
Environmental exposure controls:
Emissions from ventilation or work process equipment should be checked to ensure they comply with the requirements of environmental protection legislation.
Appropriate engineering controls:
Good general ventilation should be sufficient to control worker exposure to airborne contaminants.
Hygiene measures:
Wash hands, forearms, and face thoroughly after handling chemical products, before eating, smoking, and using the lavatory, and at the end of the working period. Appropriate techniques should be used to remove potentially contaminated clothing. Wash contaminated clothing before reusing. Ensure that eyewash stations and safety showers are close to the workstation location.
Other skin protection: Appropriate footwear and any additional skin protection measures should be selected based on the task being performed.
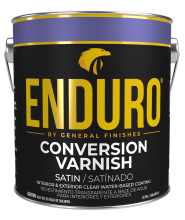 Enduro Water-Based Conversion Varnish
 Enduro Water Based Stain Blocker Primer
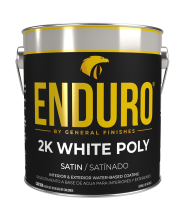 Enduro Water-Based Tintable 2K White Poly
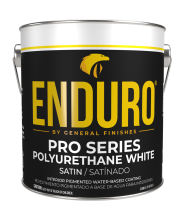 Enduro Water-Based Pro Series White Polyurethane
 Hard Wax Oil & Hardener
 Gel Stains
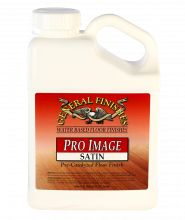 Pro Image Flooring Topcoat
 Jen Poly Brushes
 Stir Stix
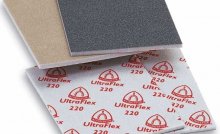 Ultraflex Softback Sanding Sponge
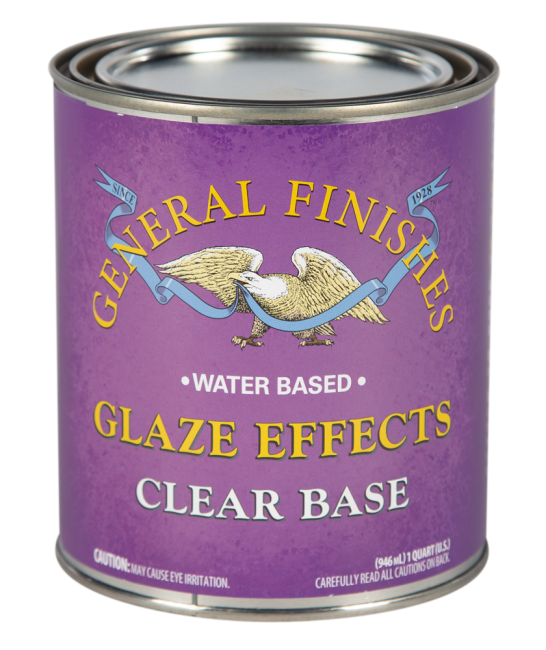

 SDS: Water Based Glaze Effects: Clear Base - 2019-12