The word "latex" is often a misnomer and is used everywhere to differentiate a water-based product from an oil-based product. The same as the word “Kleenex” is used to describe any type of facial tissue, regardless of the brand.
Today, "latex" is the technical term for a suspension (U.S.) or emulsion (European) of microparticles in water.
Latex (a plant-based derivative) was never one of the early ingredients used as a binder, the material that holds all the ingredients together and imparts adhesion, in paint. Binders that are commonly used include synthetic or natural resins such as alkyds, acrylics, vinyl-acrylics, vinyl acetate/ethylene (VAE), polyurethanes, polyesters, melamine resins, epoxy, or oils. Acrylic paint is called that because an acrylic resin is used and not all resins are equal.
CAN I USE “LATEX” WALL PAINT FOR FURNITURE?
Yes, you can. You should differentiate between the “standard” wall paints and the “performance” wall paints, such as Advance by Ben Moore.
The problem with “standard" wall paints is performance. The majority of latex wall paints are designed and engineered for a different purpose: and that is to have great coverage…..on a wall.
Walls simply don’t have the wear and tear that other horizontal surfaces do, so wall paints are manufactured with fewer resins and more of the cost competitive fillers. This helps keep the cost down, which makes sense.
WHAT IS THE DIFFERENCE BETWEEN 100% ACRYLIC WALL PAINT AND 100% ACRYLIC FURNITURE PAINT?
The first is the quality of the resin.
There are thousands on the market and they are not all equal. Resins affect cure time. The newer, performance wall paints, such as Benjamin Moore’s Advance, needs almost 20-30 days to FULLY cure for physical use in lab tests, but on a wall that does not matter - folks don’t walk on walls.
Furniture and cabinet finishers need a faster cure time. Furniture and cabinets may need to be stacked, packaged or used fairly immediately, so the resins are selected are based on cure time properties.
The second difference is the amount of filler used.
Both wall paints and furniture paints may use 100% Acrylic as the resin. Most interior house paints tend to be a combination of a binder, which is more expensive, (such as latex, acrylic, vinyl, vinyl acrylic, and others), a whole bunch of less expensive fillers such as calcium carbonate or talc, some pigment for color and water. The fillers in wall paint give it great coverage and allow the paint to be manufactured at a lower price point, but sacrifice durability and performance. Imagine wall paint as a can filled with 50% filler powder, some pigment colors, a little binder and then topped off with water. The higher end wall paints are a step up and improve this ratio but still tend to be less durable.
By comparison, a furniture paint may contain 30% filler powder, more binders and higher quality resins, pigments for color, and water. Chalk style furniture paints also have more filler powder than acrylic paints. That is why our Milk Paint is more durable than the average chalk style paint- the ratio of filler.
In summary, acrylic paints for furniture contain a higher ratio of resin to filler and superior resins.
High-quality acrylic resins give furniture paint the properties needed in the final finish: adhesion, hardness, flexibility (expansion and contraction with temperature changes in outdoor applications), good scrub resistance and superior color. These paints excel when it comes to flow, leveling and easy brushing. And these paints cure for use and recoating faster.
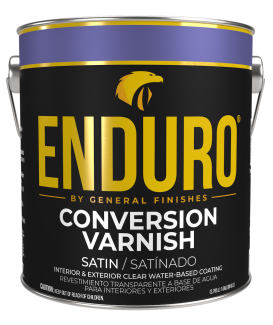
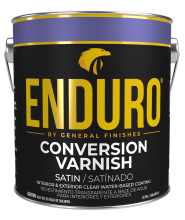 Enduro Water-Based Conversion Varnish
 Enduro Water Based Stain Blocker Primer
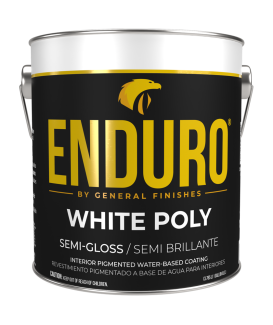
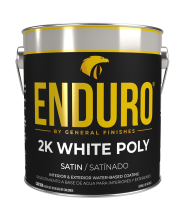 Enduro Water-Based Tintable 2K White Poly
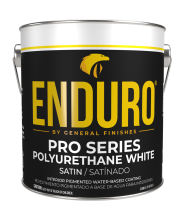 Enduro Water-Based Pro Series White Polyurethane
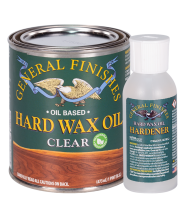 Hard Wax Oil & Hardener
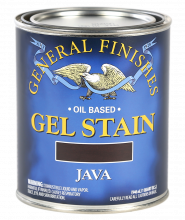 Gel Stains
 Pro Image Flooring Topcoat
 Jen Poly Brushes
 Stir Stix
 Ultraflex Softback Sanding Sponge