There are several reasons:
1. The cabinets were not prep cleaned and sanded properly. Sanding and cleaning are an essential part of any refinishing process.
In most cases, you can use a 220 sanding pad to scuff the surface and clean with a 50|50 mix of water and denatured alcohol.
Video Tutorial: How to Prep Existing High Use Finishes for Stain or Paint
2. The surface was contaminated with a dusting spray that contained silicone. Silicone is usually impossible to remove.
There are no guarantees with silicone - it is almost impossible to remove. Unfortunately, silicone contaminants, often from dusting sprays, do not become apparent until a new finish is applied and generally cannot be removed from the surface, only moved around and possibly sealed - a bane of the refinishing industry.
You need to power clean the existing finish and put on some type of barrier coat:
- Power clean the surface by scrubbing with a strong detergent such as Dawn dish soap and warm water combination with a gray Scotch-Brite pad. There is also a product called Purge All (Potassium Hydroxide) that works well against silicone contamination. Scrub with green scotch bright pad to remove silicone. After that, clean with denatured alcohol full strength.
- Apply 3 coats of dewaxed shellac. Allow each coat to dry thoroughly.
- Then cross your fingers and test. Test the first coat of finish by rubbing a nickel across the finish. Or lightly scrape with a blunt table knife (not a sharp or serrated knife).
In most cases, you will need to strip and sand, but even then there is no guarantee of success. If the silicone has migrated into the wood grain through cracks in the old finish, you may not be able to get it all removed.
3. The surface was contaminated with a previous wax finish.
Even though there is internet chatter about removing wax with 3rd party products, mineral spirits or vinegar, none guarantee success. There is an old saying in the industry. "Once you wax, you cannot go back". Nothing adheres well to wax and even after cleaning, the wood grain can become contaminated. Wax can penetrate the wood, making future paint or stain finishes or touch-ups difficult or impossible.
The risk of a failure in re-coating over a wax finish is very high. Your best bet is to clean, strip, and sand, but even that is problematic. Here is what we recommend if you want to go ahead.
- Scrub with a solvent, such as mineral spirits, to break the wax barrier. Follow with several applications of Acetone applied with gray scotch bright pads to scrub the surface.
- Then strip the surface. You want to remove as much wax as possible before sanding to minimize the risk of driving the wax into the grain of the wood from the friction of sanding.
- Strippers that contain Methylyne Chloride like Zip Strip or Savograns are aggressive strippers but harsher. Gentler strippers are citrus of soy-based such as Citrus Strip or Soy Gel.
After cleaning, test the first coat of finish for adhesion. Rub a nickel across the surface or ccrape the first coat lightly after 24 hours with a moderately sharp object such as a blunt standard table knife, not a sharp or serrated knife.
GF does offer a beautiful liquid was; General Finishes Satin Finishing Wax, but we recommend the use of topcoats such as our water-based General Finishes High Performance over dark paint colors or General Finishes Flat Out Flat over low use surfaces for a reliable sealant. We promote glaze effects and stains as other means for adding depth to refinished furniture.
4. The surface was contaminated with an oil-based soap.
5. There was not enough dry time in between coats relative to the temperature and humidity. Ideal Conditions are 70 degrees F and 70% humidity. Refinishing furniture in a space that is below or above the 65-75 degrees F range can lead to problems. The colder your space it is, the longer you have to wait between coats. Cold temperatures slow the dry time and affect how quickly the finish will level, harden and cure.
Our easy rule of thumb is; if it is cold enough to wear a sweater it is too cold to apply a water-based finish.
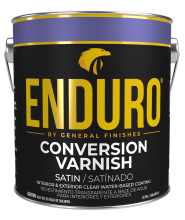 Enduro Water-Based Conversion Varnish
 Enduro Water Based Stain Blocker Primer
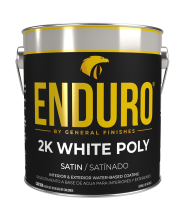 Enduro Water-Based Tintable 2K White Poly
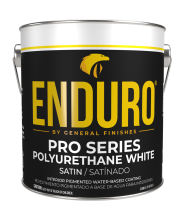 Enduro Water-Based Pro Series White Polyurethane
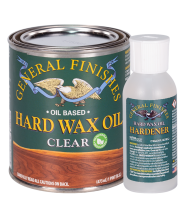 Hard Wax Oil & Hardener
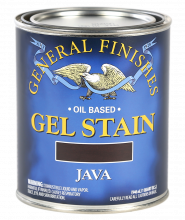 Gel Stains
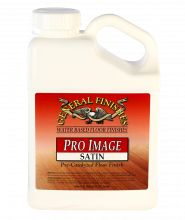 Pro Image Flooring Topcoat
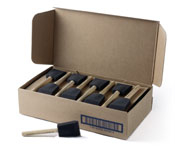 Jen Poly Brushes
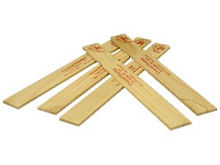 Stir Stix
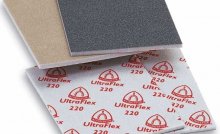 Ultraflex Softback Sanding Sponge