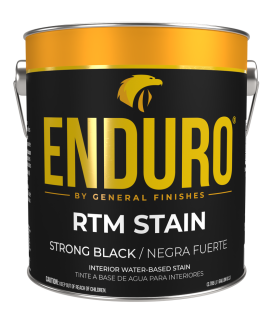
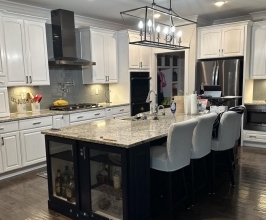
Enduro Professional Water-Based RTM Stains

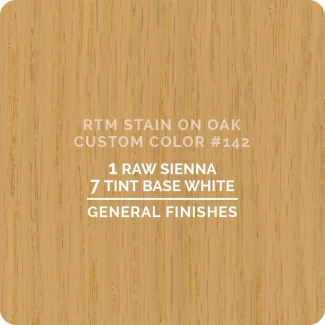
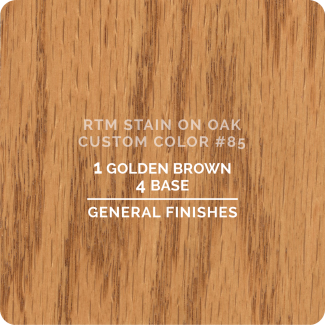
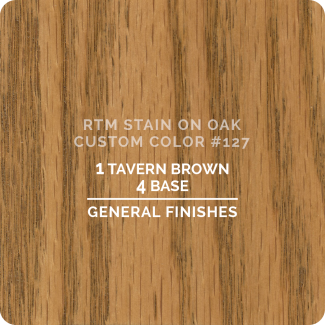
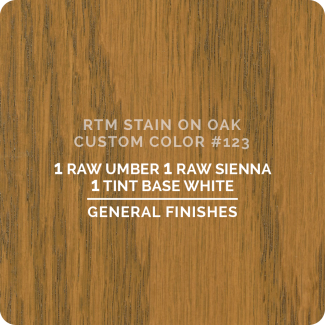
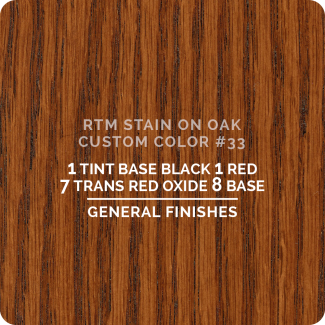
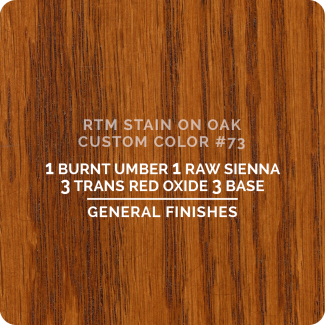
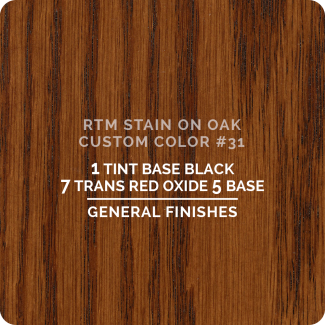
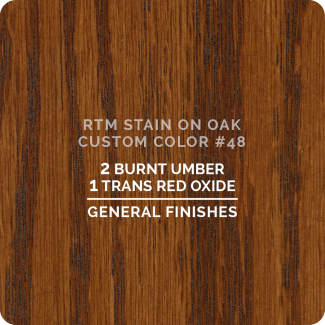
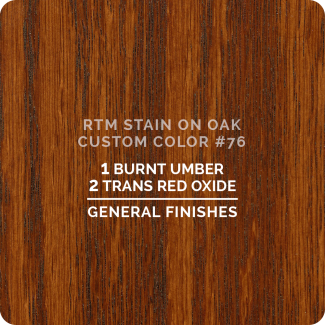
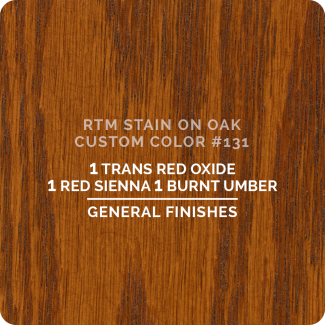
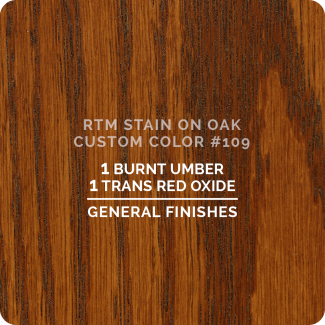
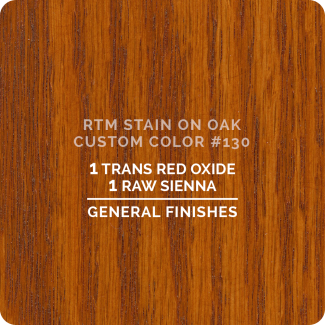
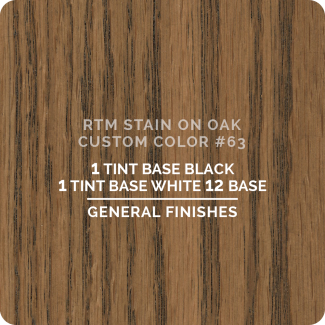
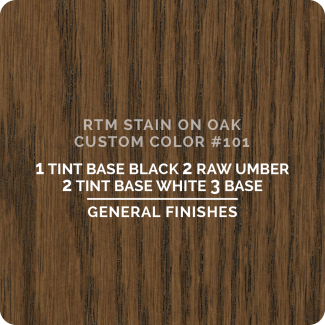
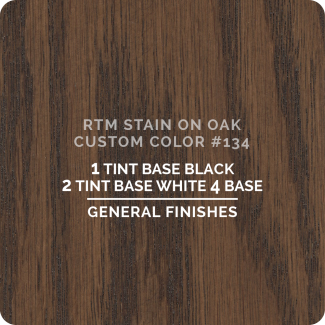
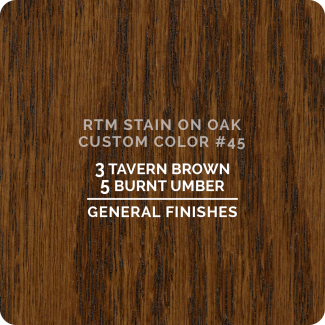
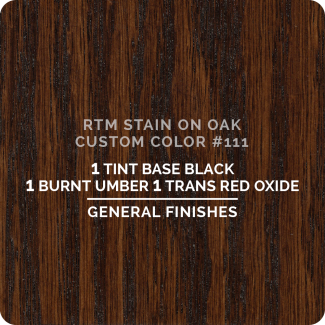
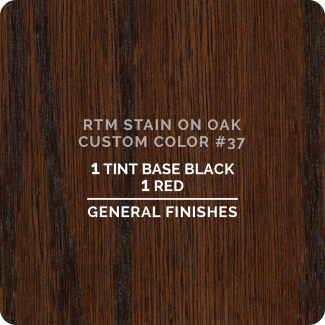
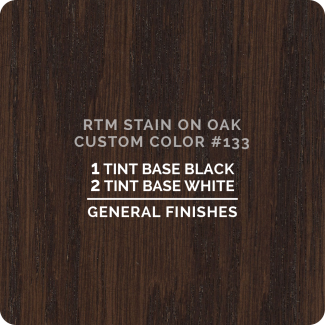
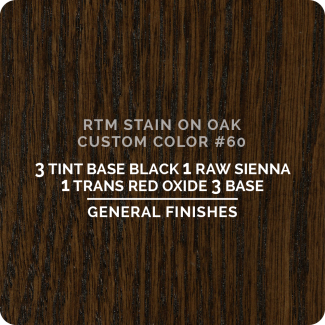
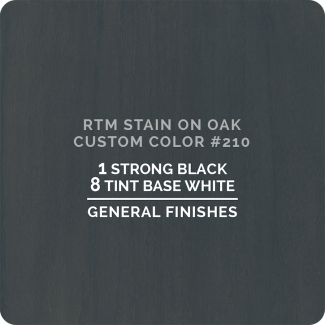
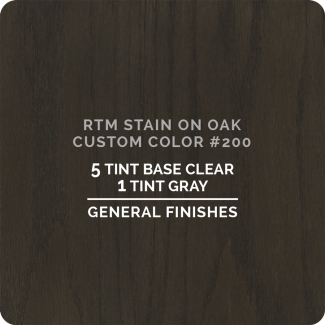
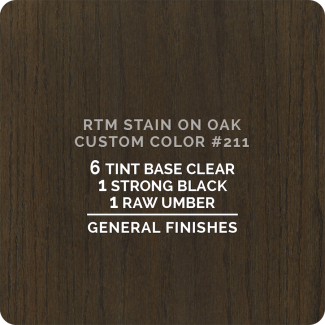
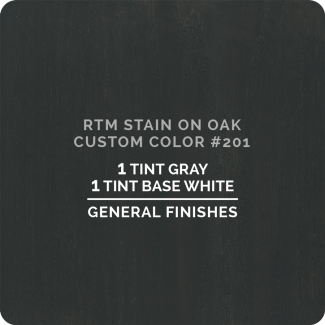
General Finishes RTM (Ready To Match) Stain System for professional finishers, industrial users, and OEM manufacturing facilities makes color-matching the easiest process on the market. RTM stains are PFAS-free, and as General Finishes strives for a cleaner and healthier environment, all future product development will be free of “Forever Chemicals." The system consists of 12 ready-to-use LOW VOC water-based stains plus a clear base; a chip box with over 100 color formulas on two-sided color chips plus stock color chips; and a formula book available in print/digital format to calculate any quantity of stain. Intermix the stains and base to design your own colors. Brush or spray application. See our spray tip size recommendations here. Click on the last tab to take a look at the RTM Chip Box. 4 Reasons to Switch to Water-Based Finishes. Made in the U.S.A. by General Finishes.

The Gold Standard for Professional Water-Based Finishes.™

General Finishes Stain Color Matching System: Enduro RTM Stain

Instructions

Step 1: Preparation of Raw Wood for Water Based Stain

Before applying stain, all raw wood projects require preparation sanding, and all existing finishes require prep cleaning and sanding. If you skip this critical step, your finish may fail.

Prep Sanding for Raw Wood Projects
See our video: How to Prep Sand Raw Wood

  1. Sand open-grain wood (e.g., oak, ash, mahogany, parawood) with 120-grit sandpaper, followed by 150-grit, then 180-grit.
  2. Sand closed-grain wood (e.g., cherry, pine, maple, birch, alder) with 150-grit sandpaper followed by 220-grit.
  3. Remove dust with a vacuum, compressed air, an oil-free tack cloth or a water-dampened rag.
  4. Do not over-sand with fine-grit sandpapers; this will close and seal the wood grain, preventing ideal color absorption.
  5. Do NOT use steel wool with water-based finishes; the particles will get trapped in the finish and rust.

Prep Sanding for Existing Finish

  1. Remove any existing finish by sanding with 120-grit-sandpaper & scuffing with a wire brush if needed. 
  2. Remove dust with a vacuum, compressed air, an oil-free tack cloth or a water-dampened rag.

Reducing Grain Raise on Raw Wood
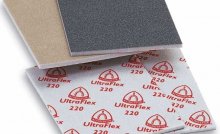
To reduce grain raise, dampen the wood with water after prep sanding. Let dry completely, then lightly sand with fine-grade (220-320) foam sanding pad.

Step 2: How To Apply General Finishes RTM Water Based Stain

General Finishes Ready to Match (RTM) Stain Application Steps 

Download 2023 Professional Water Based Product Catalog here.

  1. Watch how to color match RTM stain here or product overview video here.
  2. Stir stain to reincorporate solids that have settled to the bottom of the can before and throughout the application process.
  3. Thin as desired with distilled water; start with 5%, adding up to 10% by volume. 
  4. Increase open time, if needed, with up to 5% General Finishes Extender  if allowed by local regulations. GF Extender will improve flow and leveling and increase open time, which is helpful in dry climates. California Residents: Adding more than 2% of GF Extender will make the products non-compliant per SCAQMD Regulations. GF assumes no liability for the improper use of these products.
  5. An initial coat of General Finishes Pre-Stain Conditioner Natural can improve color uniformity over difficult-to-stain wood species such as pine. However, it will limit color absorption, so a darker stain may be required to get the depth of color you want.
  6. Test your complete finishing process before starting. The stain color is affected by variances in wood and deepened with the application of topcoat.
  7. Divide your project into manageable sections: top, side, drawer, door, table seam.
  8. Hand-Application over Raw Wood:
    • Apply a LIBERAL amount of stain to ensure easy workability using a synthetic bristle brush, foam brush, pad applicator, staining pad or microfiber roller. If not enough stain is used, the surface may dry too quickly, causing an uneven appearance. On large projects, leave a wet edge between sections to prevent lap lines.
    • Stain a complete section and wipe off the excess evenly with the grain using quality paper towel or shop towel. Check for missed spots and lap marks before moving to the next section. Do NOT use cotton t-shirts to wipe away stain because they will "push" the stain around and not absorb it.
    • Immediately correct lap marks by rewetting the entire working area with stain and wiping off the excess.
    • Pull excess stain out of corners and details with a synthetic bristle brush.
    • Dry time based on ideal conditions: 70˚F/21˚C; 50% humidity. Tack-free: 15-30 minutes. Recoat: 30-45 minutes. Topcoat: 1-2 hours.  Be sure to allow adequate dry time. If in doubt, wait longer. Increase dry time if: 
      • Humidity is over 80%
      • Working in cooler temperatures
      • 3+ coats are applied (not recommended)
      • Thick coats are applied
      • Working over a previously existing finish or sealed surface
        • To accelerate dry time in humid conditions, add General Finishes Accelerator before applying and work in a space with good ventilation and air movement. If you decide to re-coat before the recommended time, test dryness. 
    • Optional: apply a second coat to deepen the color. Apply no more than 2 coats.
    • Finish with 3 coats of General Finishes topcoat.
  9. Spray Application over Raw Wood: 
    • HVLP: 0.9mm-1.1mm spray tip, medium air cap. Verify tip sizes with your equipment supplier. See our spray tip size recommendations here. Wear a full filter respirator (NIOSH/MSHA-approved) and work in a ventilated space. Keep your gun at a 90* angle, 6-8" from the surface. On large, flat areas, use wet, even patterns 6-8" wide. For narrow surfaces, reduce the fan pattern to 2-3" wide to reduce overspray. Overlap each pass 25-50% for even coverage. Read here for more information on spraying techniques.
    • Apply section by section. Spray liberally to a complete section and wipe off the excess evenly with the grain using quality paper towel or shop towel. Check for missed spots and lap marks before moving to the next section. Do NOT use cotton t-shirts to wipe away the stain because they will "push" the stain around and not absorb it.
    • Immediately correct lap marks by rewetting the entire working area with stain and wiping off the excess.
    • Pull excess stain out of corners and details with a bristle brush.
    • Dry time based on ideal conditions: 70˚F/21˚C; 50% humidity. Tack-free: 15-30 minutes. Recoat: 30-45 minutes. Topcoat: 1-2 hours.  Be sure to allow adequate dry time. If in doubt, wait longer. Increase dry time if: 
      • Humidity is over 80%
      • Working in cooler temperatures
      • 3+ coats are applied (not recommended)
      • Thick coats are applied
      • Working over a previously existing finish or sealed surface
        • To accelerate dry time in humid conditions, add General Finishes Accelerator before applying and work in a space with good ventilation and air movement. If you decide to re-coat before the recommended time, test dryness. 
  10. Optional: apply a second coat to deepen the color. Apply no more than 2 coats.
  11. Finish with 3 coats of General Finishes topcoat.

Step 3: Topcoat Over Water-Based Stain

Always seal General Finishes Water Based Wood StainGeneral Finishes Dye Stain and General Finishes Enduro Ready-To-Match (RTM) Water Based Wood Stain with 3 coats of topcoat. More coats will not improve durability.

Grain Raise

After the first coat of topcoat has dried, you can knock down grain raise by lightly sanding with a 220 sanding pad. Watch Grain Raise video here.

Recommended Water-Based Topcoats
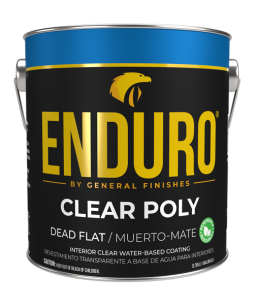
General Finishes High Performance can be applied by hand or sprayed; General Finishes Enduro Clear Poly is spray-only. Both topcoats dry clear and are great for high-use surfaces, such as kitchen cabinets and tabletops. General Finishes Flat Out Flat is our flattest topcoat, suitable for projects that do not receive major wear.

Recommended Oil-Based Topcoats
When sealing with General Finishes oil-based topcoats, General Finishes Arm-R-Seal and General Finishes Gel Topcoat, let water-based stain dry a minimum of 24 hours first. Oil-based topcoats amber increasingly over time.

Toning with Stains

Toning is the process of adding colorant (tinting), either dye or pigmented stain into a top coat and then applying over an entire piece in order to subtly deepen the color. All of GF water-based stains can be used: Stock base colors of RTM stains, Water-Based Wood Stains or Dye stains. If you are new to toning, we recommend starting with GF Dyes Stains, which can be easier to use as they only contain dyes and no pigments. 

All of General Finishes water-based topcoats with the exception of Conversion Vanish can be tinted to create lightly colored finishes for toning.  It is YOUR RESPONSIBILITY TO TEST to your satisfaction before application to your entire project.

There are limits anytime you add pigments or dyes to water-based topcoats. Toning should always be done in small increments to achieve the desired color. If you are starting with a light honey tone door and you want to create an Espresso color this will take multiple coats of color including base coat of stain followed by several toning coats. It is impossible to achieve a radical change in color in coat application.

A good rule to follow when tinting is starting with a minimal amount of stain or dye, 5-10% by volume. Some colors work better than others. Normally 1-2 ounces or stain per quart of clear topcoat is sufficient to create a toner. Always test color first and strain material through a fine mesh filter to remove any undissolved particle of pigment. Once you have achieved the desired color tone apply a clear topcoat to lock in the color.

Some tinting recommendations are:

  • Do not exceed 13 ounces per gallon. Excess amounts of colorant can create surface defects and decrease the viscosity (causing drips, sag, etc.).
  • Tinting a product black only requires about 6 to 8 ounces (based on strength of colorant).

Cleanup of Water Based Products

Application tools and materials containing water-based products can be cleaned with soap and water or General Finishes Brush & Gun Cleaner immediately after use.

Product Spills

Spills may be able to be removed from fabric and carpet if cleaned immediately with soap and water.

Disposal

Discard unused product and waste in an environmentally safe manner; check with local fire and health regulation. 

Storage of Water Based Products

Life of Product

General Finishes products do not last forever, even when unopened. They are best used within 1 year. The life of the product may be extended with proper can closure and storage conditions. (see Storage Tips below).

Water-based products can last 3-5 years if the can is unopened, in good condition and stored in correct temperatures.

Product that is 3 years old will not look like product that is 6 months to 1 year old. You will see more stratification or separation as the product ages. Always stir thoroughly before using.

Foul Smell

If your product has a foul smell, it is contaminated and no longer in useable condition.

Clumps & Settling

Gravity can cause some solids to settle on the bottom of the can and slight separation on the top. This is normal. If working with older product stir with a paint mixing attachment on a drill.

If the solids dissolve and clumps smooth out after mixing from the bottom, the product is in good condition for use.

Inability to reincorporate large, chunky lumps after stirring for several minutes is an indication that the product has frozen and can no longer be used.

Storage Tips

See video tutorial: Tips on Storing Leftover Finishes
Water-based finishes crystalize and form a skin due to evaporation when the air-tight seal on a can is broken at first use. The following best practices will increase the life of your product:

  1. Pry open sealed lids with a paint can opener by hooking under the lid's rolled edge. The use of a screwdriver can disfigure the rim and lid, impairing a complete seal. 
  2. Keep lid closed while working. Pour what you will use into a bowl, paper cup, or plate, and close can lid as you work.
  3. Clean the chime of the can thoroughly with a paper towel before closing to create a complete seal. Product falling into the chime can be minimized by using a pouring lid, such as Fitsall. Avoid wiping used brushes on the lid.
  4. Pound the lid in place using a rubber mallet to avoid distorting the chime or lid. Dents in the lid from direct contact with a hammer can impair a complete seal. Alternatively, place a flat piece of wood over can lid and firmly pound shut.
  5. Store in moderate temperatures. Avoid temperatures below 50°F/10°C or above 100°F/26°C. Keep from freezing. Frozen and heat-damaged product cannot be revitalized. Temperature-controlled spaces, such as a basement, are ideal for storage. Do not store product in an attic, garage, in direct sunlight, or next to something warm like a water heater or furnace.
  6. Store can upside down to create a liquid seal, minimize evaporation and reduce the chance of crystallization. Decant remaining product from the can before stirring. 
  7. Decant leftovers to a smaller container when the finish is almost used up. Alternative storage containers for water-based products are plastic FIFO bottles or glass bottles. Do not fill metal-lidded containers completely to prevent them from rusting.

The following water-based product mixtures can be stored:

  1. Product thinned with up to 15% General Finishes Extender or General Finishes Accelerator can be stored, with the exception of thinned General Finishes Water Based Wood Stain.
  2. Mixtures involving colors & sheens within the same product line, such as:
    • High Performance Satin + High Performance Gloss
    • Snow White Milk Paint + Coastal Blue Milk Paint
    • Amber Dye Stain + Merlot Dye Stain

The following product mixtures should NOT be stored:

  • Any water based product with thinned tap water; water often contains bacteria that will adversely affect stored paint.
  • Topcoat + Stain or Paint
  • Milk Paint + Chalk Style Paint
  • Water Based Wood Stain + Dye Stain

Warnings, Personal Protection & Warranties

Compatibility
Do not use water-based products with Linseed Oils or Danish Oils.
 

Limited Warranty
General Finishes products must be tested to your complete satisfaction before using. General Finishes will not be responsible for color satisfaction, misapplication, nor compatibility with other manufacturers' products. General Finishes will be responsible only for the cost of our products, and not for costs such as labor, damage or project replacement. 

Contamination and Compatibility
Our finishes are engineered as a system and are compatible with each other. General Finishes cannot guarantee an ideal refinish when applying our products on top of or combined with another company's products or over surfaces that have been in contact with waxes, polishes or sprays containing contaminants such as silicone. Test for adherence and aesthetics before beginning. 

Warning
If you scrape, sand, or remove old paint, you may release lead dust. LEAD IS TOXIC. EXPOSURE TO LEAD DUST CAN CAUSE SERIOUS ILLNESS, SUCH AS BRAIN DAMAGE, ESPECIALLY IN CHILDREN. PREGNANT WOMEN SHOULD ALSO AVOID EXPOSURE. Wear a NIOSH-approved respirator to control lead exposure. Clean up carefully with a HEPA vacuum and a wet mop. Before you start, find out how to protect yourself and your family by contacting the National Lead Information Hotline at 1-800-424-LEAD or log onto www.epa.gov/lead.

FIRST AID:
Seek immediate medical attention if symptoms occur due to the following. EYE CONTACT: Remove any contact lenses. Flush eyes with water for 20+ minutes while lifting upper and lower eyelids. SKIN CONTACT: Wash thoroughly after handling. INHALATION: Move to fresh air and loosen clothing. If not breathing, if breathing is irregular or if respiratory arrest occurs, provide artificial respiration or oxygen by trained personnel. INGESTION: Call physician immediately. Wash out mouth with water. Do not induce vomiting unless directed to do so by medical personnel. Never give anything by mouth to an unconscious person. 

Warning
This product contains a chemical known to the State Of California to cause cancer and birth defects. Do not swallow; first aid: drink water to dilute product. May cause eye or skin irritation; first aid: flush eyes thoroughly with water.

Warning
Keep out of reach of children. Avoid contact with eyes. Keep container tightly closed when not in use. Wash thoroughly after handling.

PERSONAL PROTECTION DURING USE:

Hand protection
Chemical-resistant, impervious gloves complying with an approved standard should be worn when handling chemical products if a risk assessment indicates this is necessary. Considering the parameters specified by the glove manufacturer, check during use that the gloves still retain their protective properties. It should be noted that the time to breakthrough for any glove material may differ for different manufacturers. In the case of mixtures, consisting of several substances, the protection time of the gloves cannot be accurately estimated.

Eye protection: Safety eyewear complying with an approved standard should be used when a risk assessment indicates this is necessary to avoid exposure to liquid splashes, mists, gases, or dust. If contact is possible, the following protection should be worn unless the assessment indicates a higher degree of protection: safety glasses with side shields.

Respiratory protection:
Based on the hazard and potential for exposure, select a respirator that meets the appropriate standard or certification. Respirators must be used according to a respiratory protection program to ensure proper fitting, training, and other important use aspects.


Body protection Personal protective equipment for the body should be selected based on the amount and repetition of exposure. It should be approved by a specialist before handling this product.

Environmental exposure controls:
Emissions from ventilation or work process equipment should be checked to ensure they comply with the requirements of environmental protection legislation.

Appropriate engineering controls:
Good general ventilation should be sufficient to control worker exposure to airborne contaminants.

Hygiene measures: 
Wash hands, forearms, and face thoroughly after handling chemical products, before eating, smoking, and using the lavatory, and at the end of the working period. Appropriate techniques should be used to remove potentially contaminated clothing. Wash contaminated clothing before reusing. Ensure that eyewash stations and safety showers are close to the workstation location.
 

Other skin protection: Appropriate footwear and any additional skin protection measures should be selected based on the task being performed.

Specifications

Basic Features
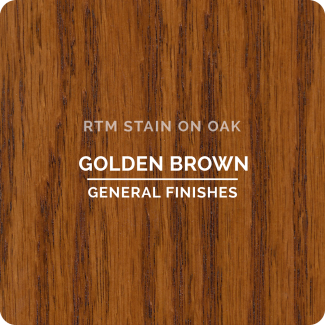
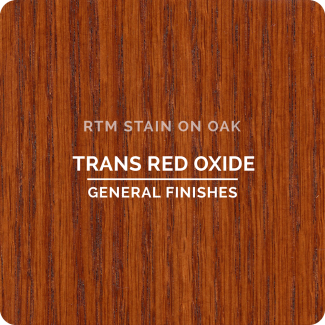
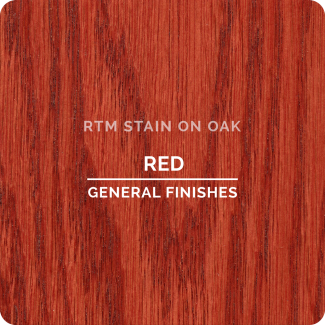
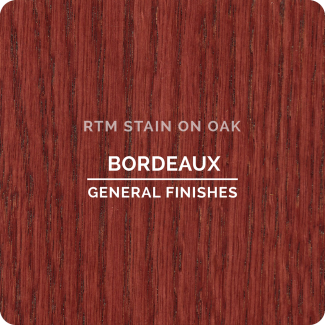
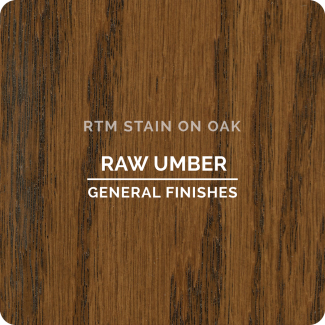
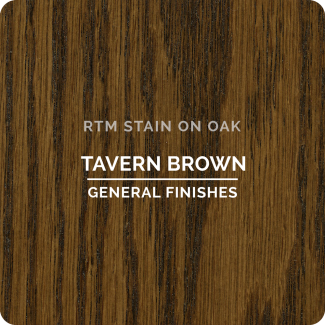
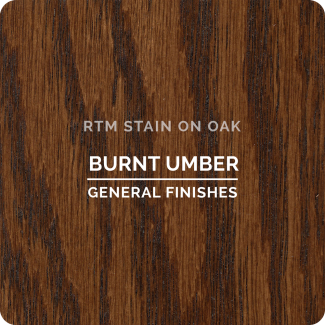
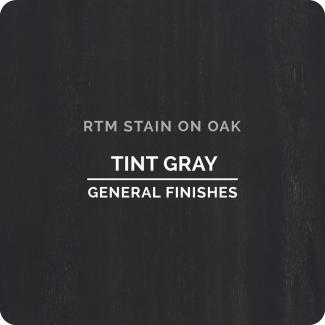
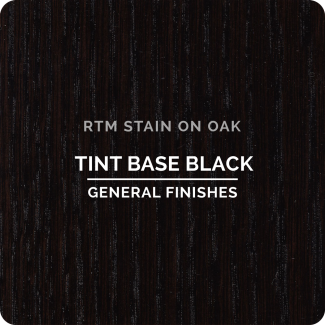
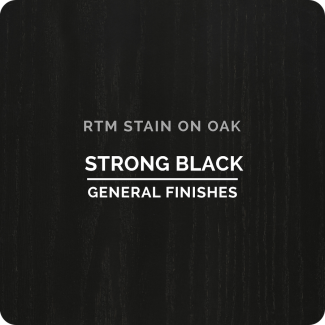
Product Colors 12 Stain Concentrates and a Clear Base, unlimited color matching capabilities - Stain concentrates: Tint White, Raw Sienna, Golden Brown, Red, Trans Red Oxide, Burnt Umber, Raw Umber, Tavern Brown, Bordeaux, Tint Black, Strong Black, Tint Gray
Base Type Water
Ambering No
Sheen N/A
Interior or Exterior Interior only
Type Enduro Stain Concentrate
Application
Coats 1+ coats
Application Method Brush, Roll, Spray, Pad
Brushable Yes
Usable over existing finishes No
Sprayable Yes
Spray Tip Sizes HVLP 0.9mm-1.1mm
Topcoat Required Yes
Dry Time
Dry Time - Touch 15-30+ min.
Dry Time - Recoat 1+ hr
Dry Time - Cure N/A
Contents
Can Sizes Quarts, Gallons, 5 Gallon pails, 55 Gallon drums
Coverage 110-125 sq. ft/quart, 450-500 sq. ft/gal
Technical Data
Viscosity Thin
Weight Solids 15%
VOC US VOC
Bordeaux: 75 g/L
Burnt Umber: 195
Golden Brown: 75 g/L
Raw Sienna: 138 g/L
Raw Umber: 96.236 g/L
Red: 166.341 g/L
Strong Black: 85.485 g/L
Tavern Brown: 164.742 g/L
Tint Base Black: 85.485 g/L
Tint Base Clear: 100.814 g/L
Tint Gray: 87.568 g/L
Tint White: 87.568 g/L
Trans Red Oxide: 219.146 g/L

FAQs

RTM Water Based Stain FAQs

What is toning finishes?

General Finishes Dye Stain

Toning is the process of adding colorant, either dye or pigmented stain into a top coat and then applying over an entire piece in order to subtly deepen the color. All of our stains can be used: Stock base colors of RTM, Water-Based Wood Stains or Dye stains. If you are new to toning, we recommend starting with Dyes stains, which can be easier to use as they only contain dyes and no pigments. 

All of General Finishes water-based topcoats with the exception of Conversion Vanish can be tinted to create lightly colored finishes for toning.  It is YOUR RESPONSIBILITY TO TEST to your satisfaction before application to your entire project. 

There are limits anytime you add pigments or dyes to water-based topcoats. Toning should always be done in small increments to achieve the desired color. If you are starting with a light honey tone door and you want to create an Espresso color this will take multiple coats of color including base coat of stain followed by several toning coats. It is impossible to achieve a radical color change with just 1 coat of toner.
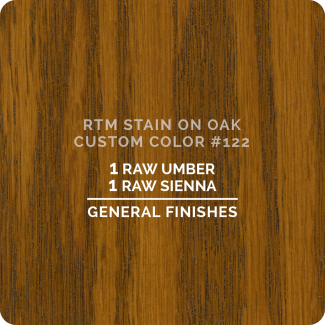
A good rule to follow when toning is starting with a minimal amount of stain or dye, 5-10% by volume. Some colors work better than others. Normally 1-2 ounces or stain per quart of clear topcoat is sufficient to create a toner. Always test color first and strain material through a fine mesh filter to remove any undissolved particle of pigment. Once you have achieved the desired color tone apply a clear topcoat to lock in the color. Toner made with water based wood stain should be used at point of use only. Do not store for extended periods of time. 


Related Categories


*Why Isn't RTM Stain Adhering to the Wood Grain of My Oak Project?

This problem could be caused by the surface tension of the oak. Surface Tension, sometimes created by sanding, can cause stains to not adhere to the grain of the wood.

You have a few options:

  1. Lightly hand-apply the first coat, then spray (without wiping) a second coat.
  2. Hand-apply stain the first coat. Then tone the piece by applying a mix of 10-15% stain with topcoat.

Related Categories


What is toning finishes?

General Finishes Dye Stain

Toning is the process of adding colorant, either dye or pigmented stain into a top coat and then applying over an entire piece in order to subtly deepen the color. All of our stains can be used: Stock base colors of RTM, Water-Based Wood Stains or Dye stains. If you are new to toning, we recommend starting with Dyes stains, which can be easier to use as they only contain dyes and no pigments. 

All of General Finishes water-based topcoats with the exception of Conversion Vanish can be tinted to create lightly colored finishes for toning.  It is YOUR RESPONSIBILITY TO TEST to your satisfaction before application to your entire project. 

There are limits anytime you add pigments or dyes to water-based topcoats. Toning should always be done in small increments to achieve the desired color. If you are starting with a light honey tone door and you want to create an Espresso color this will take multiple coats of color including base coat of stain followed by several toning coats. It is impossible to achieve a radical color change with just 1 coat of toner.
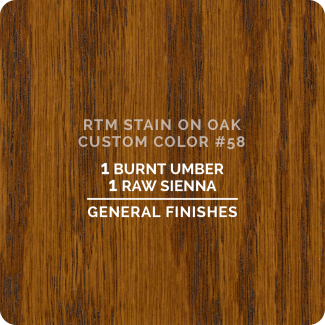
A good rule to follow when toning is starting with a minimal amount of stain or dye, 5-10% by volume. Some colors work better than others. Normally 1-2 ounces or stain per quart of clear topcoat is sufficient to create a toner. Always test color first and strain material through a fine mesh filter to remove any undissolved particle of pigment. Once you have achieved the desired color tone apply a clear topcoat to lock in the color. Toner made with water based wood stain should be used at point of use only. Do not store for extended periods of time. 
 

Related Categories


How The RTM System Works

The System Includes 3 Items:

1) A set of 12 water-based stock stain colors plus a clear base.

12 Stock Concentrates

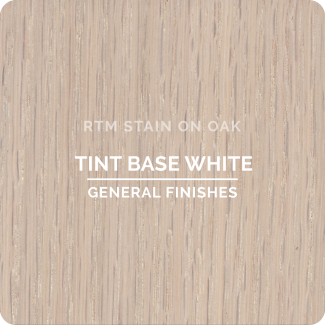
  • General Finishes RTM Wood Stain Stock Color - Tint Base White (ON OAK)
  • General Finishes RTM Wood Stain Stock Color - Trans Red Oxide (ON OAK)
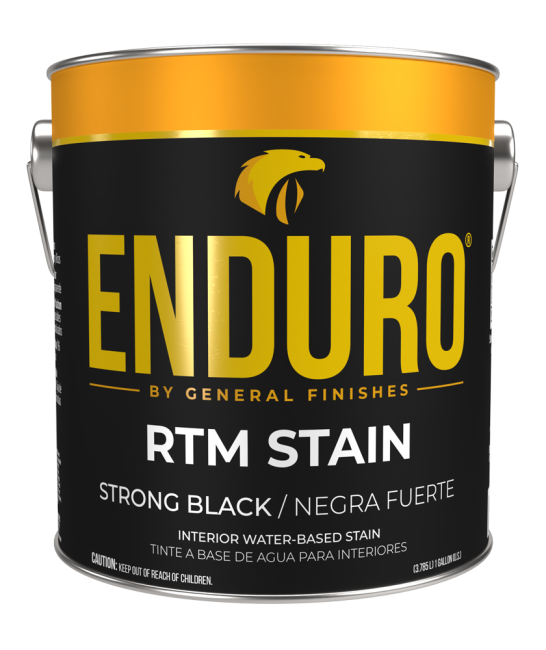
  • General Finishes RTM Wood Stain Stock Color - Strong Black (ON OAK)
  • General Finishes RTM Wood Stain Stock Color - Tint Gray (ON OAK)
  • General Finishes RTM Wood Stain Stock Color - Bordeaux (ON OAK)
  • General Finishes RTM Wood Stain Stock Color - Burnt Umber (ON OAK)
  • General Finishes RTM Wood Stain Stock Color - Golden Brown (ON OAK)
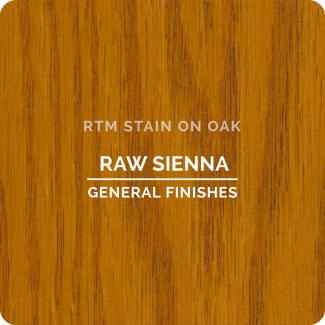
  • General Finishes RTM Wood Stain Stock Color - Raw Sienna (ON OAK)
  • General Finishes RTM Wood Stain Stock Color - Raw Umber (ON OAK)
  • General Finishes RTM Wood Stain Stock Color - Red (ON OAK)
  • General Finishes RTM Wood Stain Stock Color - Tavern Brown (ON OAK)
  • General Finishes RTM Wood Stain Stock Color - Tint Base Black (ON OAK)

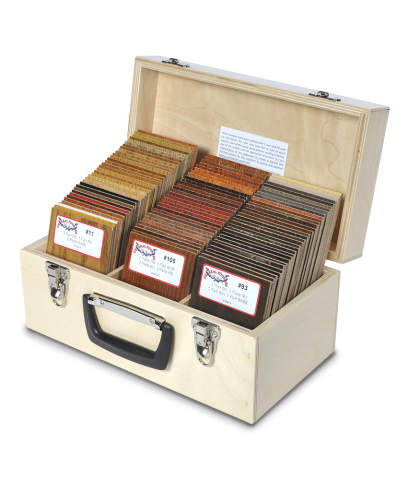
2) Color Chip Box

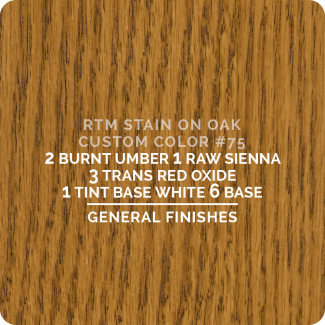
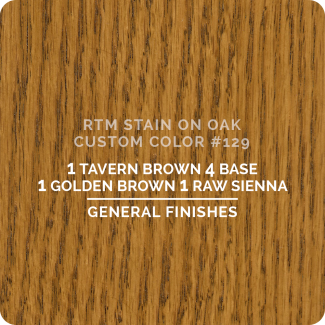
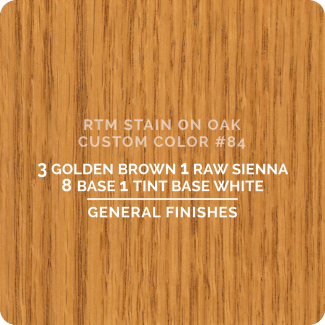
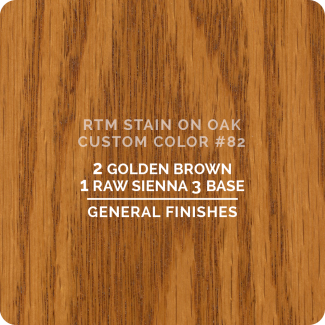
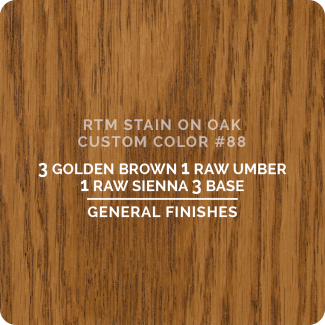
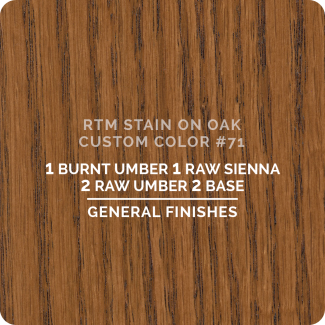
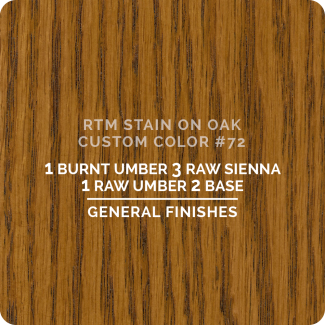
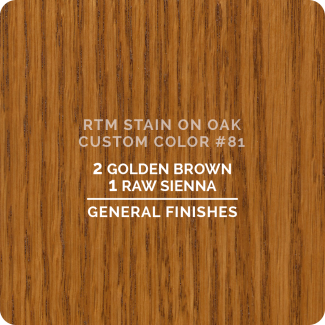
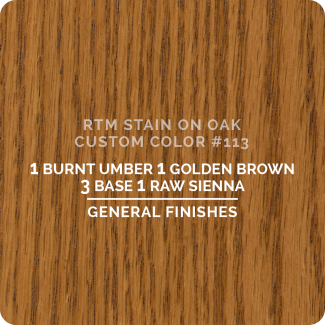
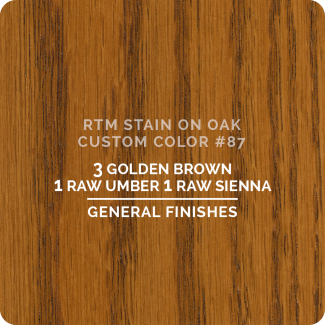
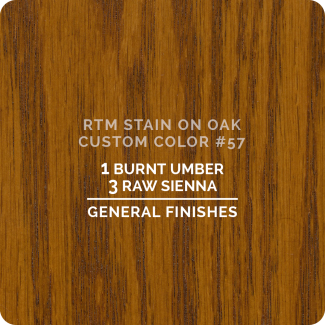
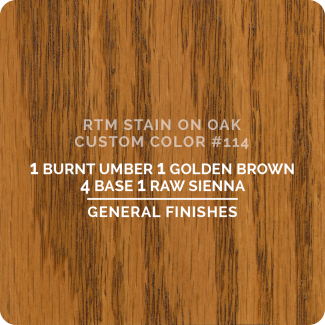
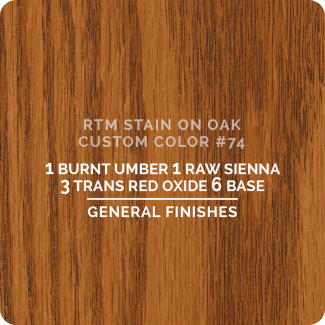
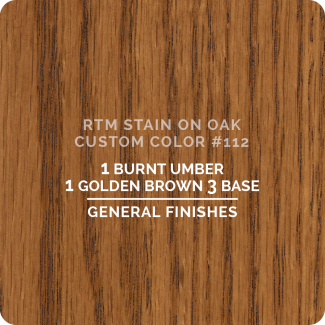
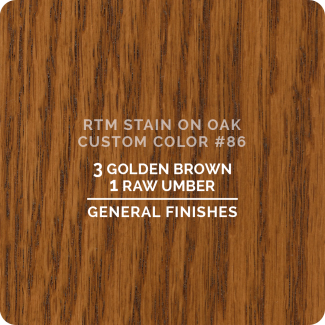
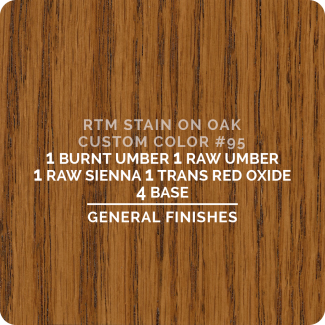
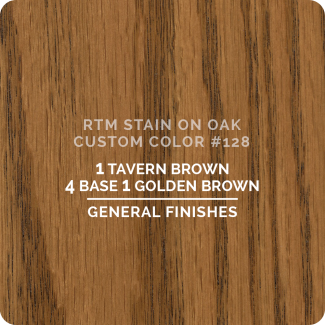
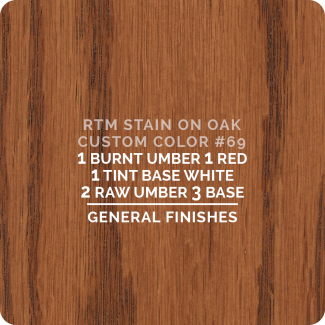
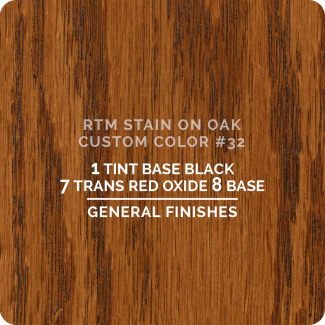
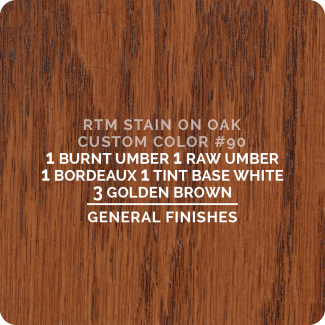
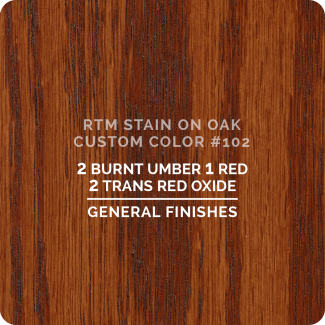
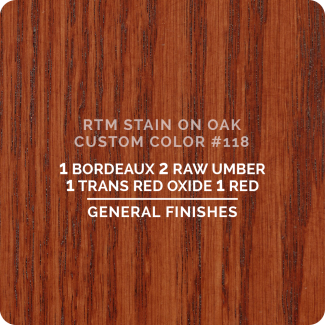
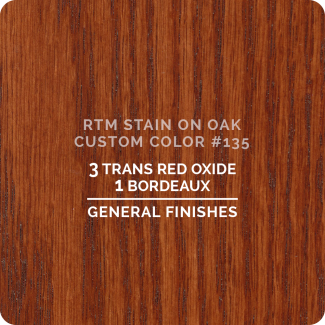
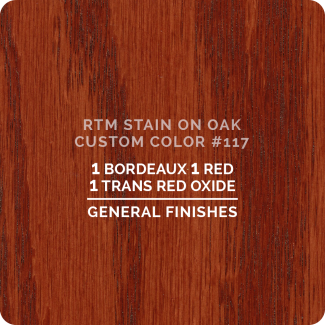
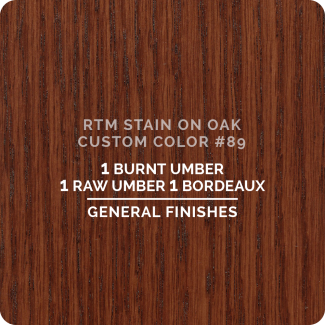
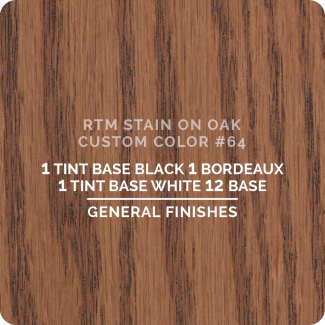
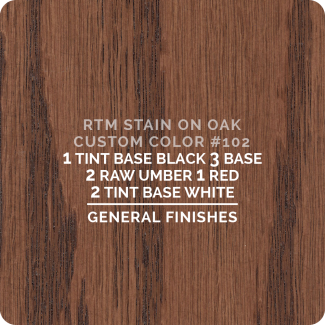
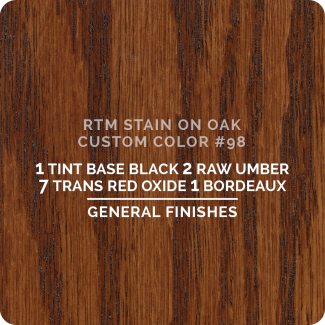
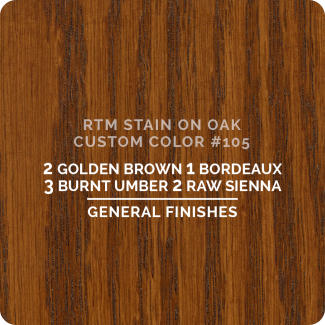
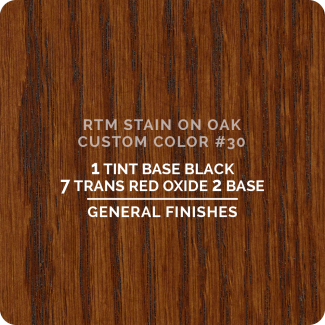
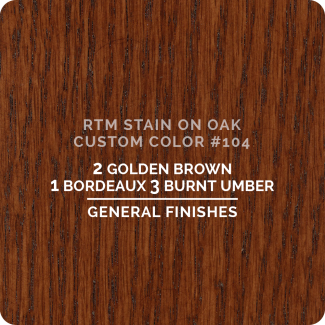
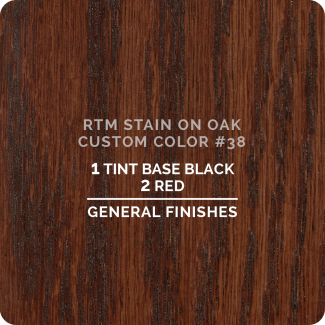
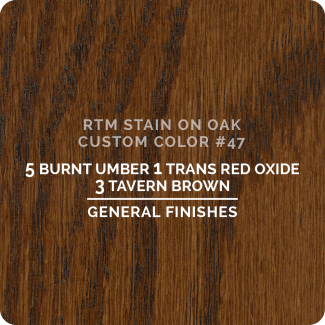
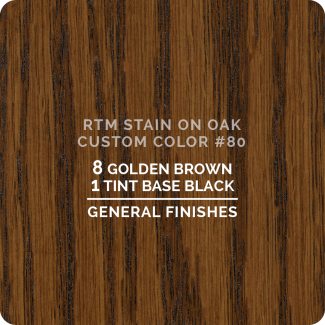
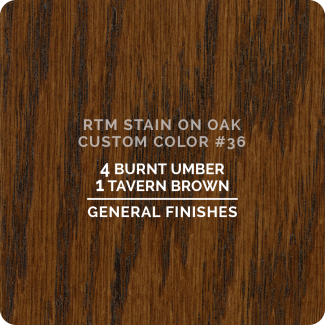
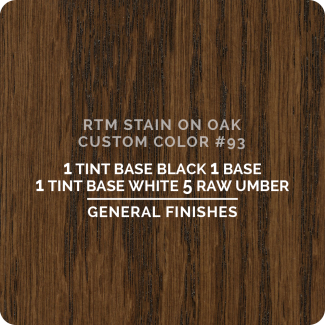
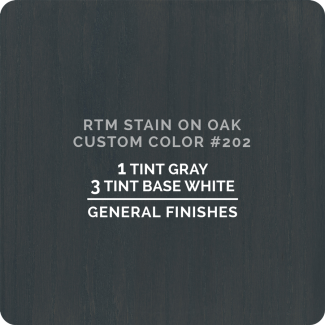
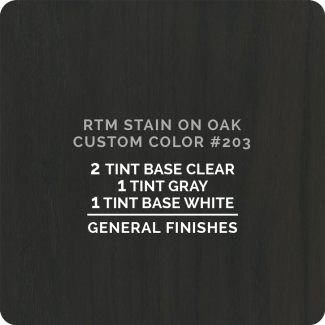
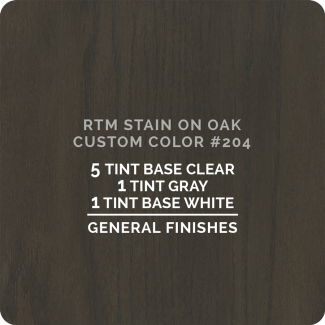
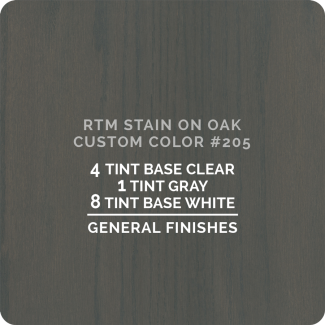
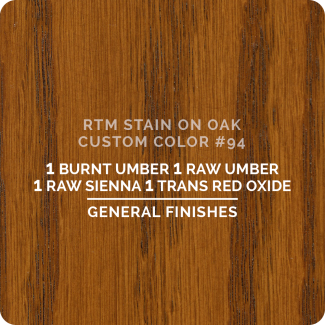
Includes 96 4"x5" two-sided color chips available in maple/oak OR maple/alder. Each chip is labeled with the stain number and corresponding formula for easy reference.

General Finishes Custom Color Matching System Chip Box

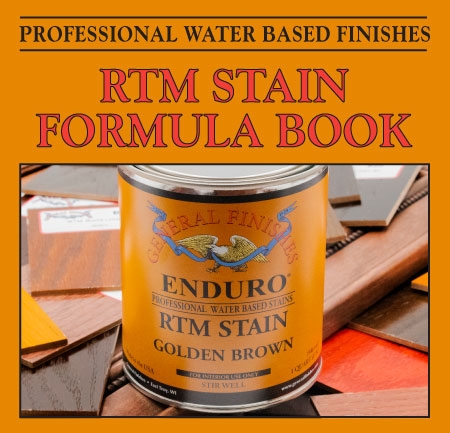
3) An RTM Formula Book

An RTM Formula book that includes break-downs of all 96 formulas. Need a different color? You can modify the formulas to fine-tune the color match. Pick out the closest color as a starting point and adjust the parts until you get a match. Once you finalize the formula, save it for future reference to the (insert graphic) RTM stain calculator in the excel spreadsheet included on the USB drive.

Enduro RTM Water-Based Stain Formula Book

It's Fast And Easy

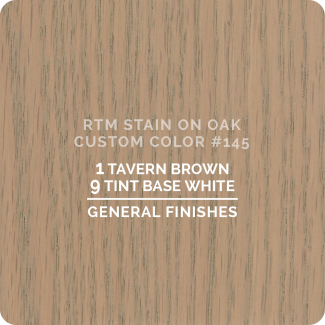
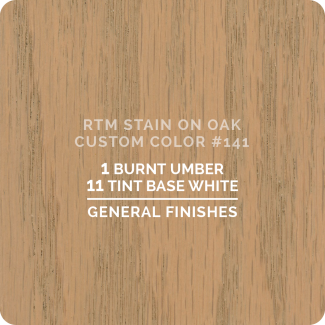
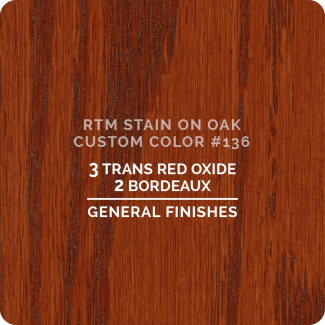
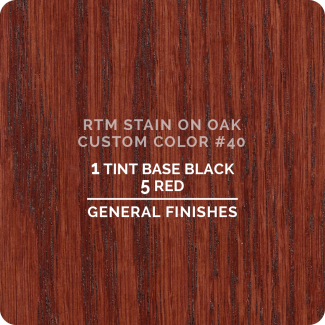
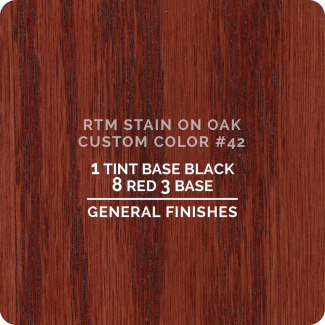
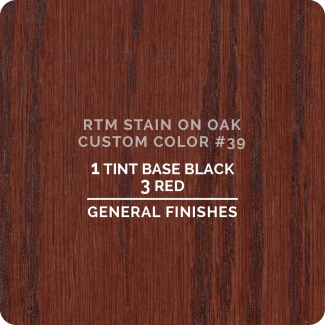
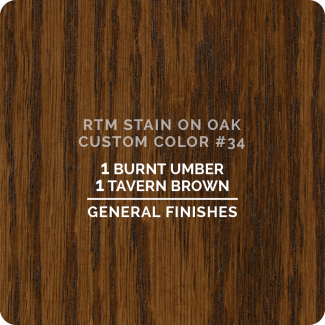
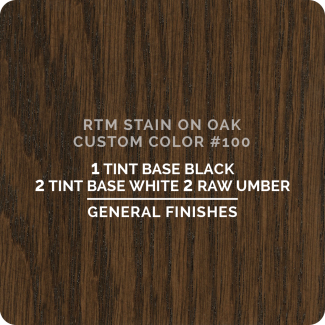
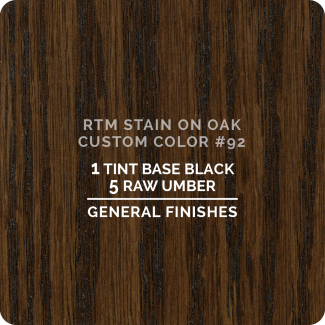
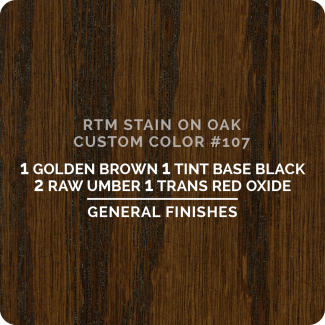
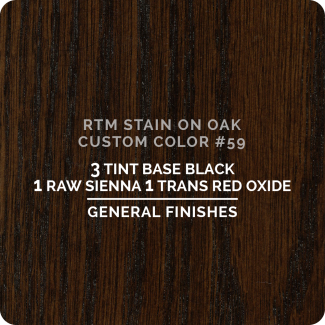
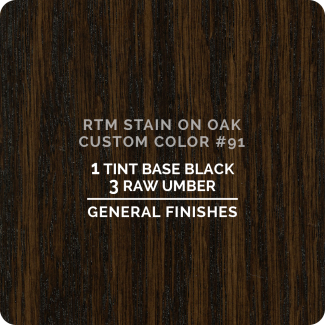
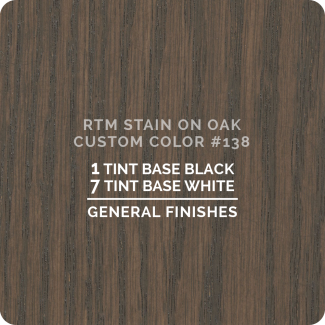
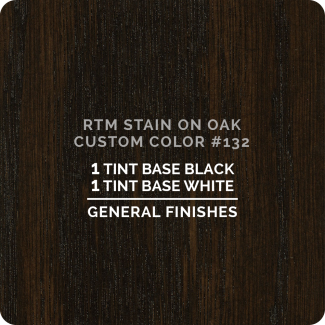
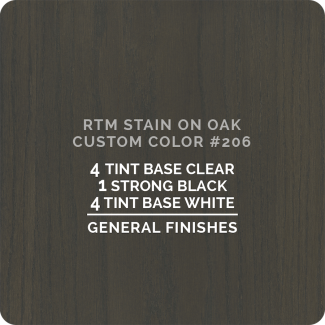
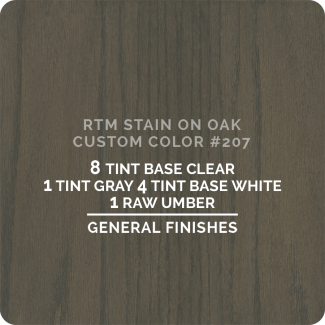
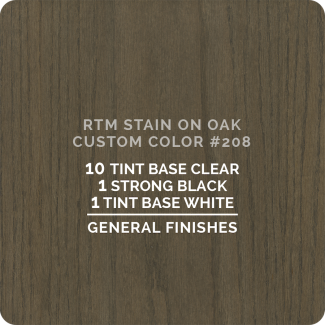
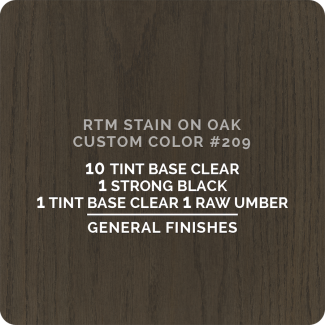
  1. Pick a color from the chip box. Find the formula in the book. Each custom color has a code # on it. For example, the #54 formula is 1 part red 1 part black.
  2. Test the color using 1 tablespoon of red and one tablespoon of black.
  3. A second coat will deepen the color.
  4. Clear coat the sample and you are done.


The Benefits

  • Consistent, accurate color matches every time.
  • Rich colors that can only be achieved in a water-based formula.
  • Our proprietary color blends provide consistency without sacrificing clarity.
  • Colors can be mixed by weight or volume for duplicable consistency.
  • No tinting wheel needed.
  • Compatible with most water and solvent-based clear coats.
  • Low VOC, non-flammable & water clean-up
  • Available in quarts, gallons, 5-gallon pails, 55-gallon drums