General Finishes offers water, oil, and maintenance finishes that meet the needs of homeowners, woodworkers, and DIY’ers. Comprehensive videos are available for each product on YouTube, plus dynamic comparison charts at GeneralFinishes.com/COMPARE.
All General Finishes water-based finishes are:
- VOC compliant in all 50 states
- Water cleanup
- Low odor
- Non-flammable
INTERIOR PRIMERS
Water Based Stain Blocker is:
- An epoxy acrylic formulation.
- Prevents tannin bleed-through & discoloration.
- Has high build with excellent adhesion properties.
- Apply with a brush, roller, or sprayer.
WATER-BASED TOPCOATS & PIGMENTED FINISHES
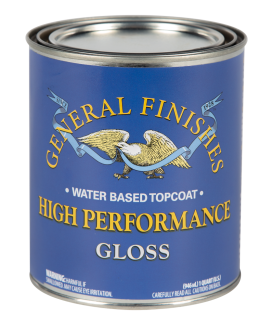
High Performance Water-Based Topcoat is:
- An Interior polyurethane/acrylic blend.
- Clear drying.
- highly resistant to water and household chemicals.
- Apply with a brush or sprayer.
Flat Out Flat Water-Based Topcoat is:
- An interior acrylic formulation.
- Clear drying.
- provides an extremely flat finish with high durability.
- Apply with a brush or sprayer.
Enduro-Var II Water-Based Topcoat is:
- An interior oil-modified water-based urethane.
- Dries to a light, amber tone.
- Made with over 50% renewable resources.
- Apply with a brush or sprayer.
Water-Based Milk Paint is:
- A premium interior and exterior-rated acrylic formulation.
- Self-sealing and does not require topcoat.
- Is made with over 50% renewable resources.
- Is available in 12 popular colors, plus two tint bases.
- Apply with a brush, roller, or sprayer.
Water-Based Glaze Effects is:
- An interior oxidating acrylic formula.
- Available in 6 colors, including a Clear Base.
- Is a decorative specialty finish.
- Can be intermixed to create custom colors.
- It requires a topcoat
- Apply with a brush, roller, or sprayer
Pro Image Water-Based Flooring Topcoat is:
- An interior polyurethane.
- Clear drying.
- Levels to a smooth, hard, durable finish.
- Provides excellent slip and black heel mark resistance.
- Apply with a brush, roller, or pad applicator.
INTERIOR WATER-BASED STAINS
Water-Based Wood Stain is:
- Made with over 50% renewable resources.
- It’s available in 18 deep brilliant colors.
- And provides universal coverage on many wood species.
- Apply with a brush or sprayer.
Water-Based Pre-Stain Conditioner is:
- Used to control blotching on hard-to-stain woods.
- And to reduce Water Based Wood Stains.
- Apply with a brush or sprayer.
Water-Based Dye Stain is:
- A penetrating stain with ink-like consistency.
- It is available in 14 vibrant colors.
- And can be used as a toner.
- Apply with a brush or sprayer or wiping on.
Water-Based Dye Stain Reducer is:
- The clear base used to reduce Dye Stain colors.
WATER & OIL EXTERIOR FINISHES
Exterior 450 Clear Water-Based Topcoat is:
- A polyurethane formulation.
- Tintable to dark colors.
- Contains UV absorbers & Mildewcides to protect the finish.
- Clear drying.
- Apply with a brush or sprayer.
450 White Water-Based Topcoat is:
- A pigmented polyurethane formulation.
- Is tintable to light and pastel colors.
- Contains UV absorbers & mildewcides to protect the finish.
- Apply with a brush, roller, or sprayer.
Exterior 450 Water-Based Stain is:
- Made with over 50% renewable resources.
- Available in 10 colors, including a clear base.
- Contains U.V. absorbers & mildewcides to protect the finish.
- Apply with a brush or sprayer.
Water-Based Milk Paint is:
- A premium Interior and exterior-rated acrylic formulation.
- Self-sealing and does not require topcoat.
- Made with over 50% renewable resources.
- Available in 12 popular colors, plus two tint bases.
- Apply with a brush, roller or sprayer.
Outdoor Oil is:
- A penetrating oil wood preservative.
- Contains UV absorbers and mildewcides to protect the finish.
- This finish will amber as it ages.
- A maintenance product. Reapply when wear becomes evident.
- Apply with a brush, roller or sprayer.
INTERIOR OIL STAINS & AMBERING TOPCOATS
Gel Satin Oil-Based Topcoat is:
- A heavy-bodied, no-drip oil and urethane formula.
- Designed to provide a hand-rubbed look.
- Will amber as it ages.
- Apply with a brush or wipe on.
Gel Oil-Based Stain is:
- A heavy-bodied, no-drip formula.
- Available in 14 deep, rich, uniform colors.
- Apply with a brush, roller, or wipe on.
Arm-R-Seal Oil-Based Topcoat is:
- A penetrating sealer with a high-quality urethane formulation.
- It provides long-lasting, durable protection.
- and works beautifully on projects with detail.
- This finish will amber as it ages
- Apply with a brush or wipe on.
Liquid Oil-Based Wood Stain is:
- a traditional, pigmented liquid wiping stain
- Available in 14 colors
- Can be used as a toner with Arm-R-Seal
- Apply with a brush or wipe on.
Oil-Based Pre-Stain Conditioner is:
- Designed to control blotching on hard-to-stain woods.
- And penetrates the grain to promote uniform acceptance of oil stains.
- Apply with a brush or wipe on.
Oil-Based Seal-A-Cell Clear is:
- Formulated with a blend of oils, urethanes, and wax.
- Is GF’s deepest penetrating close-to-the-wood sealer.
- And the best choice for highlighting figured wood.
- Apply with a brush or wipe on.
Hard Wax Oil is:
- A urethane-solids polymer in a blend of oil & wax.
- Enhances the natural look of wood.
- One of our easiest finishes to use.
- It’s best used with optional GF Hardener to shorten dry time and provide superior durability.
- This is a maintenance product. Reapply when wear becomes evident.
- Apply with a white pad or plastic spreader.
Oil Based Wood Bowl Finish is:
- A pure urethane formulation.
- Highlights figured wood beautifully
- Apply with a brush or wipe on.
INTERIOR MAINTENANCE PRODUCTS
Butcher Block Oil is:
- A mineral oil formulation.
- Meets all requirements for use on wooden surfaces that come in contact with food.
- This is a maintenance product. Reapply when wear becomes evident.
- Apply with a cloth.
Orange Oil is:
- A routine cleaner for cured wood finishes
- Non-combustible with a fresh orange scent
- Apply with a cloth
Satin Finishing Wax is:
- A blend of waxes.
- Produces a soft sheen and feel over any wood finish.
- Can be used as a polish for rubbing out new finishes OR as a scratch-remover.
- Apply with a cloth.
No matter what your project is, General Finishes has the right product for you. General Finishes is dedicated to using the highest-quality ingredients in all our products, while testing and advancing our water-based finishes with leading-edge technology.
Learn more about GF’s products at Generalfinishes.com.
General Finishes: We make tomorrow's finishes today.
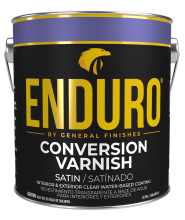 Enduro Water-Based Conversion Varnish
 Enduro Water Based Stain Blocker Primer
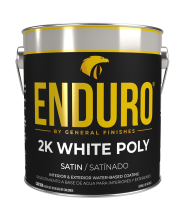 Enduro Water-Based Tintable 2K White Poly
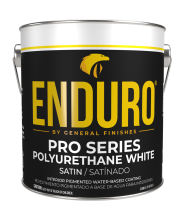 Enduro Water-Based Pro Series White Polyurethane
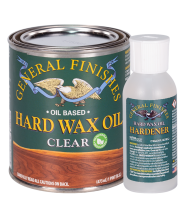 Hard Wax Oil & Hardener
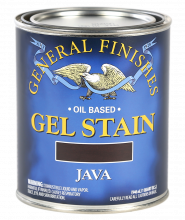 Gel Stains
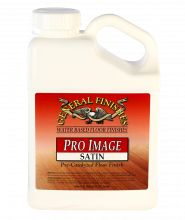 Pro Image Flooring Topcoat
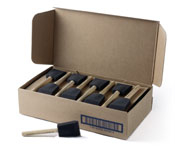 Jen Poly Brushes
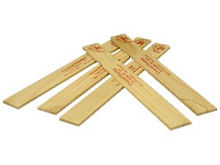 Stir Stix
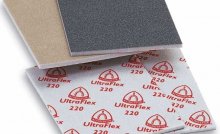 Ultraflex Softback Sanding Sponge