 Enduro Water-Based Conversion Varnish
 Enduro Water Based Stain Blocker Primer
 Enduro Water-Based Tintable 2K White Poly
 Enduro Water-Based Pro Series White Polyurethane
 Hard Wax Oil & Hardener
 Gel Stains
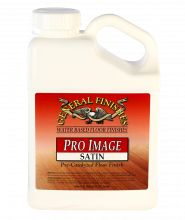 Pro Image Flooring Topcoat
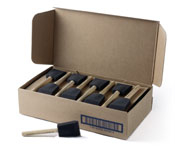 Jen Poly Brushes
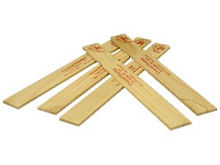 Stir Stix
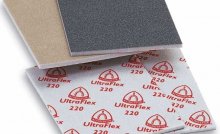 Ultraflex Softback Sanding Sponge
Glaze Effects are designed for use over General Finishes Milk Paint, Water Based Wood Stains, Pearl Effects or oil-based finishes. Use GF's Glazes to create decorative finishes such as wood graining, distressing, burnishing and color washing. Read on for the video transcript, instructions for how to best use Glaze Effects and a list of useful links.
Chris Adams and "celebrity guest" Holly Haguewood of Drabs2Fabs show how to glaze a small table with Van Dyke Brown Glaze Effects over Holiday Red Milk Paint.
VIDEO TRANSCRIPT
Today we have celebrity guest Holly of Drabs2Fabs in Smithfield, Utah. Holly won Best Use of Multiple Products in General Finishes’ 2015 Design Challenge. Holly is joining us to demonstrate how she applies GF Glaze Effects on this accent table.
The top has been sanded down to bare wood with 120 followed by 150 grit sandpaper. It was finished with 1 coat of Java Gel Stain and 3 coats of our new water-based topcoat, Flat Out Flat.
The base of the table has been cleaned with a Scotch Brite pad and a 50:50 mix of denatured alcohol and water. Then we scuff-sanded with a 220 sanding pad. ALWAYS prep existing finishes to remove years of dirt and grime and oil from hands – you will have a better result.
Here is the finishing schedule for this piece.
First we sprayed on two coats of Holiday Red Milk Paint. After letting each coat dry for three hours, we buffed with a 220 sanding pad and removed the dust.
We wanted a smooth, clean application of glaze, we put on 1 coat of High Performance Satin topcoat - any sheen will work – let it dry, and buffed it lightly with a well-used 220 sanding pad. Applying a layer of topcoat first will create a barrier between the paint and the glaze, allowing the glaze to glide on and give you more control of the color.
The supplies needed are dusting cloths, shop towels, gloves, Extender, foam brushes and synthetic brushes. We love these new synthetic Krex brushes from Chalk Supply; they don’t shed or flare, they last a long time and clean up fast. They are a great investment.
We mixed our Van Dyke Brown Glaze Effects with 10% Extender to increase the open time. Always use Extender if you are going to be working on a large surface or in low humidity. The next step will be to apply the Glaze Effects.
I am going to finish knocking down the finish on this last table leg so that the glaze can stick a little bit better. We have already sanded down these two legs and the base as well. Just take a 220 sanding pad and take off some of that sheen. Then remove the dust.
I am just going to work in a section at a time here, making sure that it's in all the cracks. I brush it on and wipe it off. Like we showed earlier, you can leave as much on or as little on as you like. With these tables it is a little bit more tricky because you've got so many angles.
Anywhere there is a crack or detail, make sure that it has glaze in it. As I am wiping with the shop towel, I wipe carefully because you want to leave the glaze in the cracks and not wipe it out. This table leg doesn't have a lot of detail for the glaze to sit, which is fine for this piece because I am going for a cleaner look.
This is a very light glazing with very fine detailing. If you want a dirtier look, you can apply more glaze, wipe less off and one trick is to not seal the paint with topcoat before you start. The last trick is always to seal in the color. After the glaze has dried 2-4 hours, we will apply 3 coats of water-based Flat Out Flat topcoat allowing 3 hours between each coat.