Skip to main content
America's Leading Manufacturer of Innovative Water-Based Wood Finishes
Header Navigation
Compare Products
FAQs
Training & Events
Videos
SDS & Tech Data
View Colors
Policies
New Accounts
My Account
Newsletter Signup
Browse Our Products
Where To Buy
Professional/Industrial & OEM Products
Retail / DIY Products
Floor Products
Touch-Up Products & Sundries
Register for Wholesale Account
Upcoming Training & Events
Manufacturer/OEM Account Application
Where To Buy Our Products
General Finishes University
Design Center
FAQs
Resource Center
Brochures & Color Charts
COMPARE ALL PRODUCTS
COMPARE All Stains
COMPARE Professional Products
COMPARE All Topcoats
COMPARE Paints, Glazes & Pigmented Topcoats
COMPARE Primers, Sanding Sealers & Undercoats
GF IN THE NEWS
Enduro Water-Based Tintable 2K White Poly
Enduro Water-Based Pro Series White Polyurethane
Enduro Water-Based Conversion Varnish
Enduro Water Based Stain Blocker Primer
Water-Based Finishes & Coatings For Professional, Industrial & OEM Use
Enduro Pigmented Water-Based Black Poly
Enduro Water-Based Clear Poly
Enduro Water-Based Conversion Varnish
Enduro Water-Based Pre-Cat Lacquer
Enduro Ready to Match (RTM) Water-Based Stain
Enduro Water-Based Tintable 2K Clear Poly
Enduro Water-Based Tintable 2K White Poly
Enduro Water-Based White Poly
Enduro Water-Based Pro Series Clear Polyurethane
Enduro Water-Based Pro Series White Polyurethane
Water-Based Pigmented Top Coats, Paints, Glazes & Enamel
Enduro Pigmented Water-Based Black Poly
Enduro Water-Based Tintable 2K White Poly
Enduro Water-Based White Poly
Enduro Water-Based Pro Series White Polyurethane
Exterior 450 Water-Based White Topcoat
Milk Paint Bases for Tinting
Milk Paint
Water-Based Sanding Sealers, Wood Primers, and Undercoats
Enduro Water-Based Sanding Sealer
Enduro Water Based Deep Base Undercoat
Enduro Water Based Stain Blocker Primer
Enduro Water-Based White Undercoat
Professional Water-Based Wood Stains, Dye Stain & Dye Concentrates
Enduro Ready to Match (RTM) Water-Based Stain
TransTint® Liquid Dye Concentrate
Water-Based Dye Stain
Water-Based Dye Stain Reducer
Water-Based Pre-Stain Conditioner
Water-Based Wood Stain
Exterior Water-Based Stains, Paints, Top Coats, Primers & Deck Oil
Enduro Water-Based Conversion Varnish
Enduro Water-Based Tintable 2K Clear Poly
Enduro Water-Based Tintable 2K White Poly
Enduro Water Based Deep Base Undercoat
Enduro Water Based Stain Blocker Primer
Enduro Water-Based White Undercoat
Exterior 450 Water-Based Topcoat
Exterior 450 Water-Based White Topcoat
Exterior 450 Water-Based Wood Stain
Milk Paint
Outdoor Oil
Water-Based Extenders, Accelerators & Brush and Gun Cleaner
Brush & Gun Cleaner
Enduro Accelerator
Enduro Extender
Wood Maintenance, Polishes & Waxes
Butcher Block Oil
Orange Oil Furniture Polish
Satin Finishing Wax
Fill Sticks -Assortment Pack of 15 Color Groups
Touch Up Markers - Assortment Pack of 15 Color Groups
Enduro Water Based Stain Blocker Primer
Hard Wax Oil & Hardener
Gel Stains
Water-Based Wood Stain
Water Based Paints and Glazes for Cabinets, Millwork and Furniture
Glaze Effects Clear Base
Glaze Effects
Milk Paint Bases for Tinting
Milk Paint
Water Based Stain Blocking Primers, Undercoats, & Sanding Sealers
Enduro Water-Based Sanding Sealer
Enduro Water Based Deep Base Undercoat
Enduro Water Based Stain Blocker Primer
Enduro Water-Based White Undercoat
Water Based Topcoats and Sanding Sealer
Enduro-Var II Water Based Topcoat
Flat Out Flat Water Based Top Coat
High Performance Water Based Polyurethane Topcoat
Wood Turner's Finish
Water Based Wood Stains, Dye Stain Stain, Dye Concentrates & Pre-Conditioners
TransTint® Liquid Dye Concentrate
Water-Based Dye Stain
Water-Based Dye Stain Reducer
Water-Based Pre-Stain Conditioner
Water-Based Wood Stain
Exterior Water-Based Stains, Paints, Top Coats, Primers & Deck Oil
Enduro Water-Based Conversion Varnish
Enduro Water-Based Tintable 2K Clear Poly
Enduro Water-Based Tintable 2K White Poly
Enduro Water Based Deep Base Undercoat
Enduro Water Based Stain Blocker Primer
Enduro Water-Based White Undercoat
Exterior 450 Water-Based Topcoat
Exterior 450 Water-Based White Topcoat
Exterior 450 Water-Based Wood Stain
Milk Paint
Outdoor Oil
Oil Based Wipe-on Stains, Pre-stain Conditioners & Sealers
Gel Stains
Oil Based Pre-Stain Wood Conditioner
Oil Based Penetrating Wood Stains
Seal-A-Cell Oil Based Sealer
Oil Based Urethane Gel & Liquid Wipe-on Top Coats
Arm-R-Seal Oil Based Topcoat
Oil Based Gel Topcoat
Hard Wax Oil & Hardener
Oil Based Wood Bowl Finish
Water-Based Extenders, Accelerators & Brush and Gun Cleaner
Brush & Gun Cleaner
Enduro Accelerator
Enduro Extender
Wood Maintenance, Polishes & Waxes
Butcher Block Oil
Orange Oil Furniture Polish
Satin Finishing Wax
Fill Sticks -Assortment Pack of 15 Color Groups
Touch Up Markers - Assortment Pack of 15 Color Groups
Pro Image Flooring Topcoat
Water Based Floor Products
Pro Image Flooring Topcoat
Jen Poly Brushes
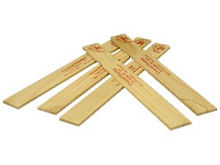
Stir Stix
Ultraflex Softback Sanding Sponge
Sundries
Jen Poly Brushes
Stir Stix
Ultraflex Softback Sanding Sponge
Touch Up Markers and Fill Sticks
Fill Stick and Touch Up Marker Assortment Pack
Fill Sticks -Assortment Pack of 15 Color Groups
Touch Up Markers - Assortment Pack of 15 Color Groups
Looking for Inspiration?
Visit Our Design Center
Home
faqs
product faqs
Chalk Style Paint
Chalk Style Paint
Visit Our Design Center!
Take A Look
Check out our product comparison tool!
Check It Out!
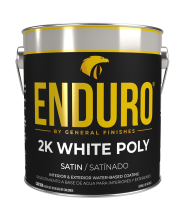 Enduro Water-Based Tintable 2K White Poly
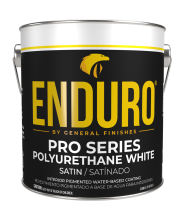 Enduro Water-Based Pro Series White Polyurethane
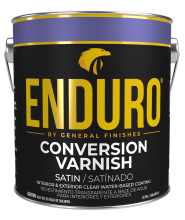 Enduro Water-Based Conversion Varnish
 Enduro Water Based Stain Blocker Primer
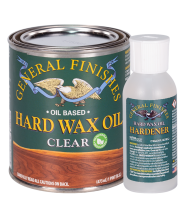 Hard Wax Oil & Hardener
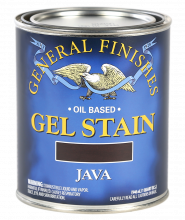 Gel Stains
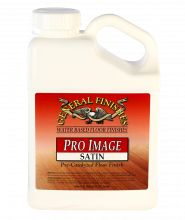 Pro Image Flooring Topcoat
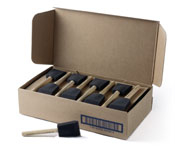 Jen Poly Brushes
 Stir Stix
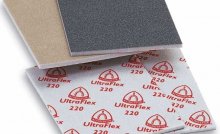 Ultraflex Softback Sanding Sponge