America's Leading Manufacturer of Innovative Water-Based Wood Finishes
Although some companies promote their products as "no prep", that is nonsense. If you skip this step the finish can fail.
General Finishes standard for a good finish is it must adhere well and stand the test of time.
1. PREP CLEANING:
Cleaning an existing finish removes dirt, grime and many common contaminants such as oil from hands. Dirt, grime, and oil prevent good adhesion causing the possibility of chipping, peeling and flaking - all signs of a failed finish.
Although some companies promote their products as "no prep," that is nonsense. If you skip this step the finish can fail. General Finishes's standard for a good finish is it must adhere well and stand the test of time.
Vinyl or paper veneers can be often found on the end returns of lower price-point cabinets. We cannot guarantee that our paints will adhere well to a paper veneer - we have no idea what the actual material is or what adhesives were used to apply the veneer to the surface. The resins and additives in our paints may break down the adhesives used for the veneer.
And Milk Paint does NOT adhere to vinyl.
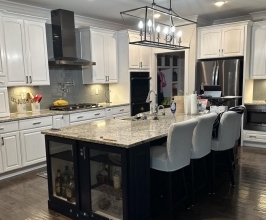
This response is true of prepping and existing finish on furniture, but kitchen cabinets are more problematic because they are work areas where grease, steam, food splatters and oil from hands are common. Prep is basically degreasing and abrading the surface for better adhesion. Oil or substances on hands really show up on a failed re-finish around doorknobs and hands if the surface is not cleaned thoroughly.
There are several reasons:
1. The cabinets were not prep cleaned and sanded properly. Sanding and cleaning are an essential part of any refinishing process.
In most cases, you can use a 220 sanding pad to scuff the surface and clean with a 50|50 mix of water and denatured alcohol.
It would depend on whether you plan to use the furniture outside or under the protection of a roof. Theoretically, both water and oil-based products could be used.
For example, you could "antique" wicker with thinned Gel Stain to pop up the color depth on an aging piece of natural wicker. However, Gel Stain is not exterior-rated and is very thick, making it cumbersome to apply and wipe off on a highly textured surface such as wicker.
There is no easy solution to this problem. General Finishes Milk Paint has strong adhesion properties but there are several reasons this finish could fail:
Even though there is internet chatter about removing wax with 3rd party products, mineral spirits or vinegar, none guarantee success.
There is an old saying in the industry. "Once you wax, you cannot go back". Nothing adheres well to wax and even after cleaning, the wood grain can become contaminated. Wax can penetrate the wood, making future paint or stain finishes or touch-ups difficult or impossible.
To prep an existing fiberglass door that has a coat of paint on it:
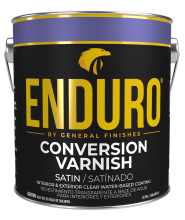 Enduro Water-Based Conversion Varnish
 Enduro Water Based Stain Blocker Primer
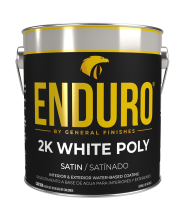 Enduro Water-Based Tintable 2K White Poly
 Enduro Water-Based Pro Series White Polyurethane
 Hard Wax Oil & Hardener
 Gel Stains
 Pro Image Flooring Topcoat
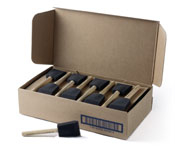 Jen Poly Brushes
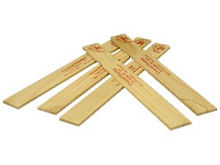 Stir Stix
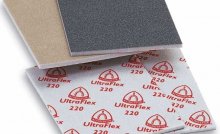 Ultraflex Softback Sanding Sponge
 GF Product Comparison Chart Professional Topcoats