America's Leading Manufacturer of Innovative Water-Based Wood Finishes
Contributed by Jeff Jewitt of Homestead Finishing Supplies
Day 1:
Day 2:
General Finishes offers a complete line of oil based, water based and wax products. Application techniques differ between oil based products and water based products.
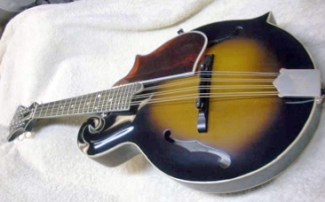
John Mosconi of Sting King Lutherie in Akron, Ohio takes us on his journey of refinishing this mandola.
Step 1: Prep and Sealing
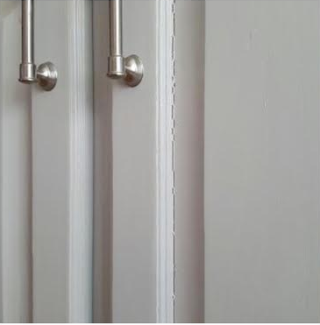
This issue is caused by a change in humidity in the house when the winter heating season starts. This is a very typical problem when painting over existing finishes. The cracking is a result of expansion and contraction.
When you apply numerous heavy layers of primers, paints, and topcoats, they can crack at the joints or angles when the humidity changes. The cracking occurs when the door panel shrinks and breaks the heavy paint layer.
There are two options when it comes to fixing this problem:
ROUGH, DRY SURFACE
This is called dry spray. You may have sprayed too lightly.
Re-sand the finish with 320-grit sandpaper and apply a heavier coat. Keep your gun at 6-8" from the surface.
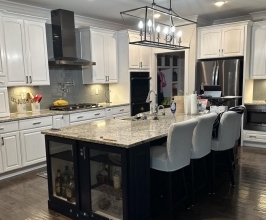
This response is true of prepping and existing finish on furniture, but kitchen cabinets are more problematic because they are work areas where grease, steam, food splatters and oil from hands are common. Prep is basically degreasing and abrading the surface for better adhesion. Oil or substances on hands really show up on a failed re-finish around doorknobs and hands if the surface is not cleaned thoroughly.
Wood finishing is fun and easy. Don't rush through finishing a piece of furniture as if it is a race. Imagine how it will look finished in your home in living color. Set up a good prep area. Turn on some tunes. Get creative and enjoy the journey.

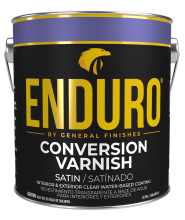 Enduro Water-Based Conversion Varnish
 Enduro Water Based Stain Blocker Primer
 Enduro Water-Based Tintable 2K White Poly
 Enduro Water-Based Pro Series White Polyurethane
 Hard Wax Oil & Hardener
 Gel Stains
 Pro Image Flooring Topcoat
 Jen Poly Brushes
 Stir Stix
 Ultraflex Softback Sanding Sponge